The vignette effect is one of my favorites. I use it to draw the viewer’s attention to the subject in my videos, simulate memories, and add a cinematic effect. It's a well-known effect in photography that darkens and blurs the outer edges of an image using lenses, but now you can also create a vignette with post-production software like After Effects.
In today’s tutorial, you’ll learn how to create a vignette effect in After Effects. We’ll look at the two simplest methods in After Effects and one simple and faster method with Boris FX Continuum.
Let’s dive in!
How to Create Vignette Effects in Adobe After Effects

I'll show you two methods to create an After Effects Vignette. There is no need for additional downloads, and the steps are easy to follow.
Manual Vignette Effect
This first method is one of the easiest ways to create a vignette in After Effects. It requires few technical skills and uses only the basic tools in Adobe After Effects. The only requirement is that you know how to use masks, but I'll make this guide as easy as possible so that anyone can follow it.
-
Step 1: Prepare Your Compositions for the Vignette
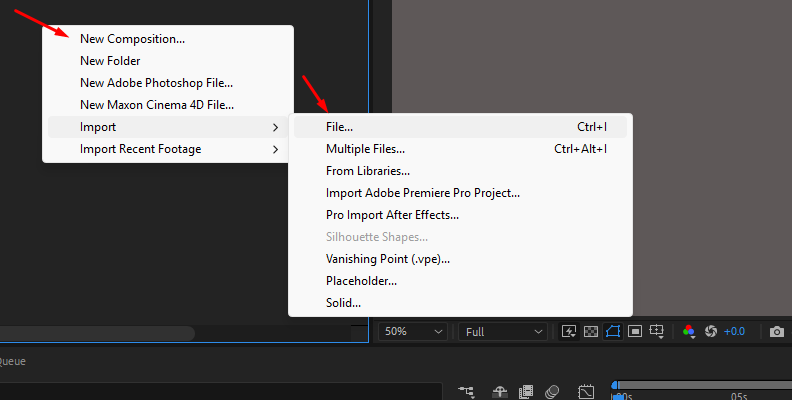
Create a new composition and import your videos. Drag the videos to the composition and arrange the order of your layers.
-
Step 2: Create a Solid Layer
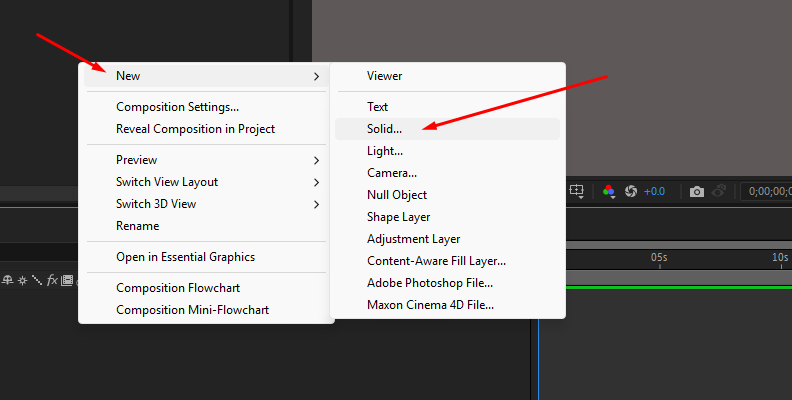
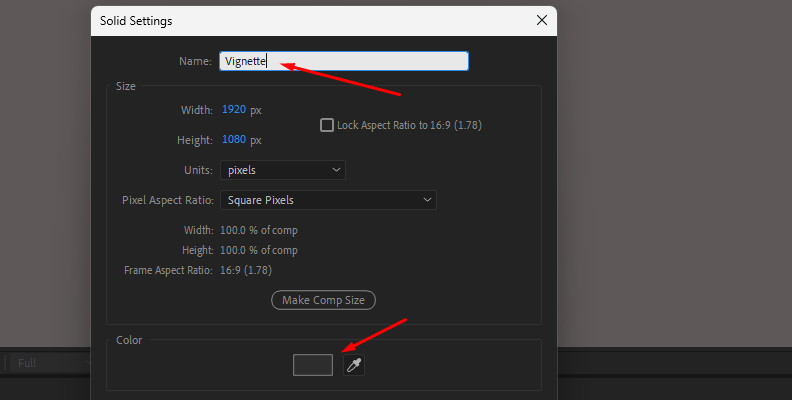
Right-click the layer panel and select New > Solid to add a solid layer, ensuring it's the same size as your composition.
Choose a solid color: black for the classic black vignette or white for a vignette lighting effect.
Name the solid layer Vignette to identify it from the other layers in the composition. Ensure the solid layer is above the video clip where you want to create the vignette effect.
-
Step 3: Create a Mask
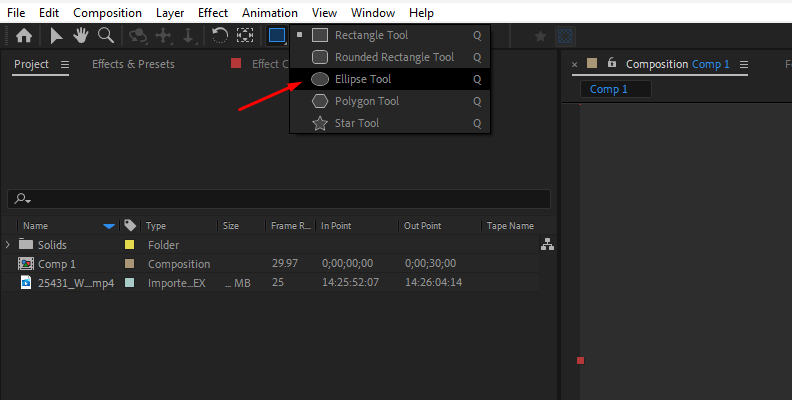
Select the solid layer and use the shape tool to draw the mask's shape. The ellipse tool works better to create the circular shape of the vignette effect, but you can get creative with other shape tools. Click-hold the shape tool to choose a different shape. You can use the pen tool to create a custom shape if that will suit your videos.
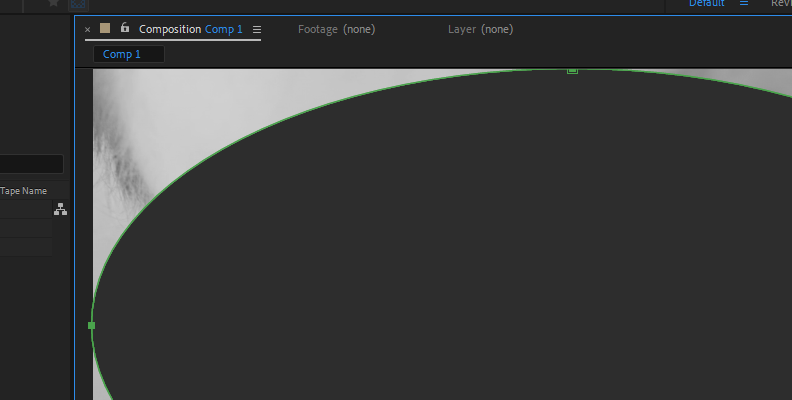
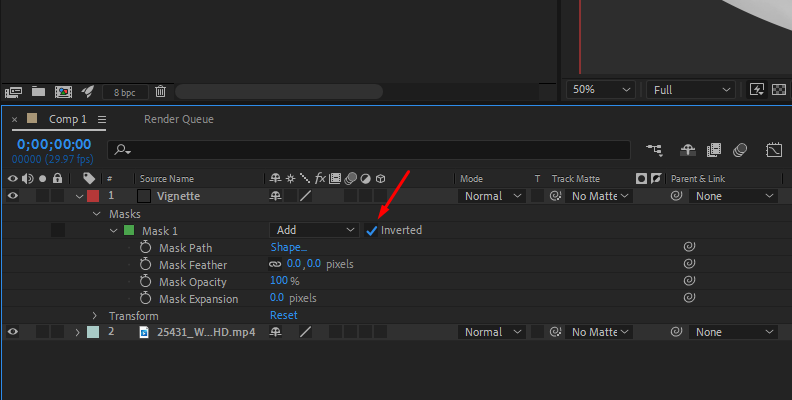
For now, let's use the ellipse tool by double-clicking on it to make the ellipse the size of the composition. The ellipse will cover most of the footage except for the edges. To invert the mask, display the mask settings in the layer panel and click the Inverted checkbox. Now, you'll see the mask covering the outer edges, just where we want it.
-
Step 4: Shape the Vignette Effect
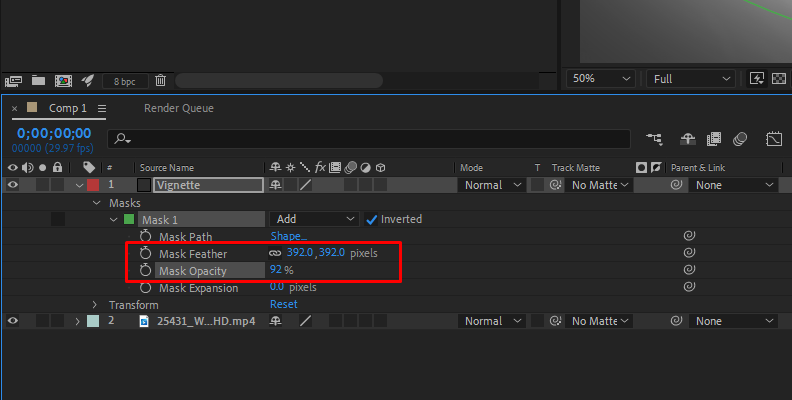
Next, adjust the mask settings to achieve the vignette effect. Start by selecting the solid layer and revealing its settings, then show the mask’s settings. You can also double-press the M key to display the mask’s settings.
Increase the Mask Feathering to create a smooth transition between the mask and the video. Next, lower the Mask Opacity to make it more transparent and soften the black edges. You can continue to adjust the feathering and opacity to achieve the desired look.
-
Step 5: Final Touches
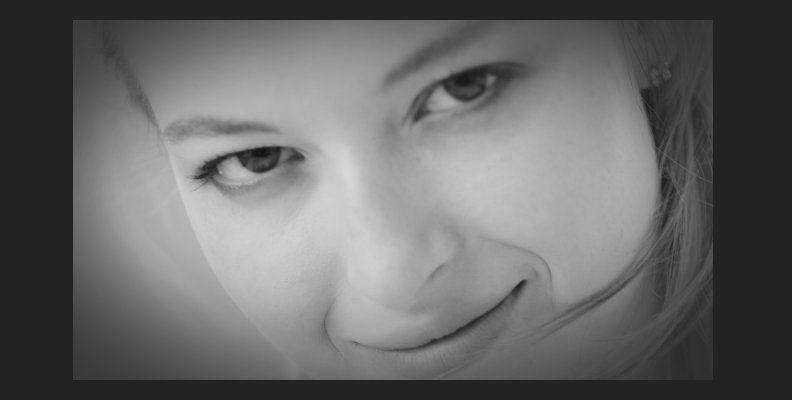
You can experiment with a few additional effects to enhance the vignette. For instance, try adding the CC Radial Blur effect using the Fading Zoom type and increasing the blur amount to create an out-of-focus effect. You can also add curves to the original footage to create more contrast with the vignette.
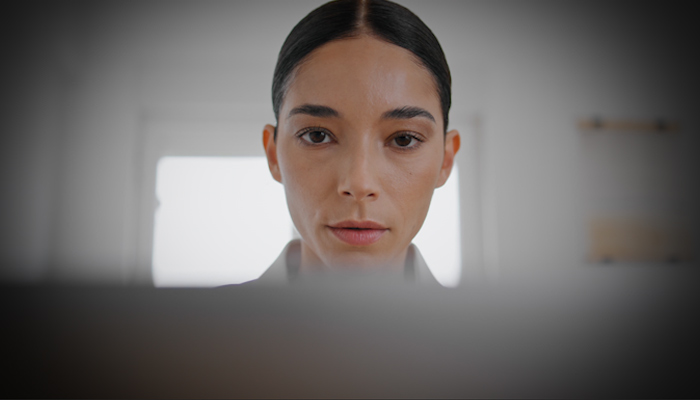
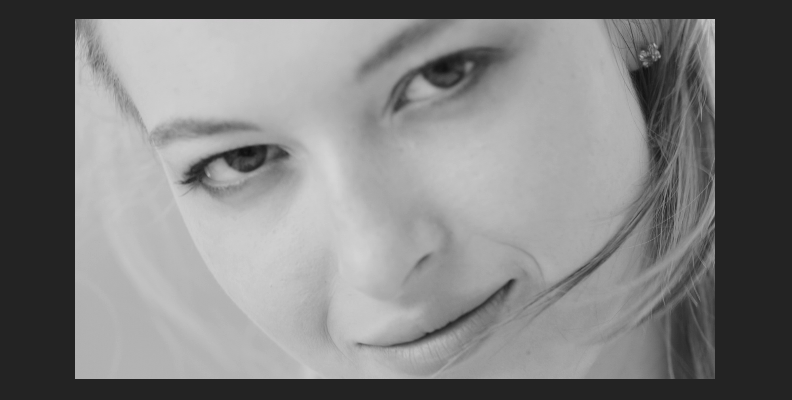
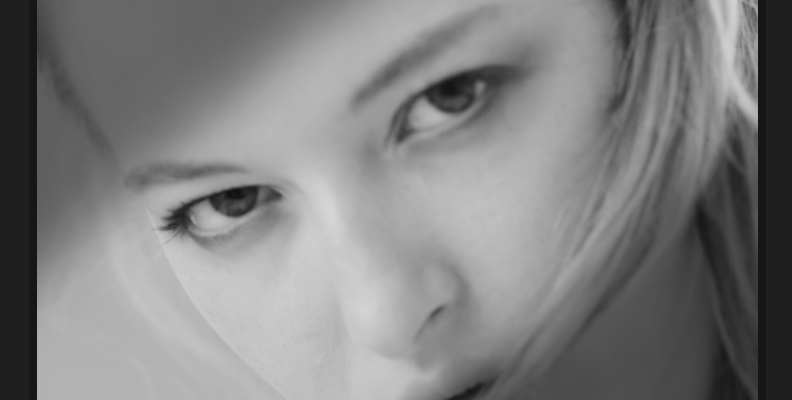
Before:
After:
Using the Vignette Effect
There are vignette effects in After Effects that can be used to create vignettes. One is the Vignette Lighting effect, a filter built from three effects, and the other is CC Vignette. We’ll use CC Vignette as it is simpler to apply and configure.
-
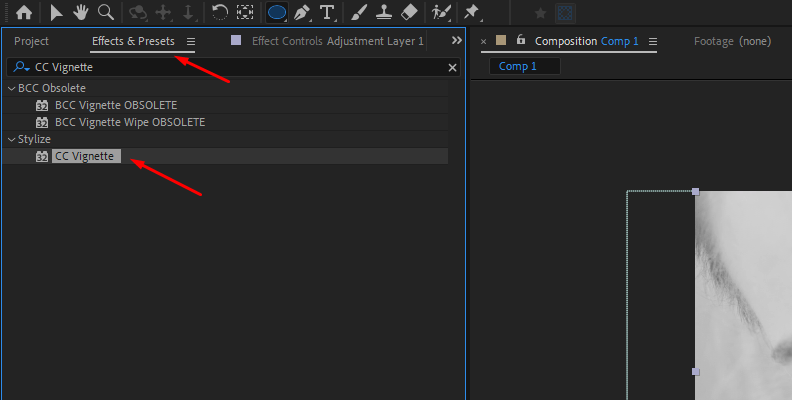
Step 1: Apply CC Vignette
Create an adjustment layer in your composition and name it "Vignette." Search for CC Vignette and drag it to the adjustment layer. The CC Vignette effect is a quick tool that lets you shape the vignette's size, angle, and intensity.
-
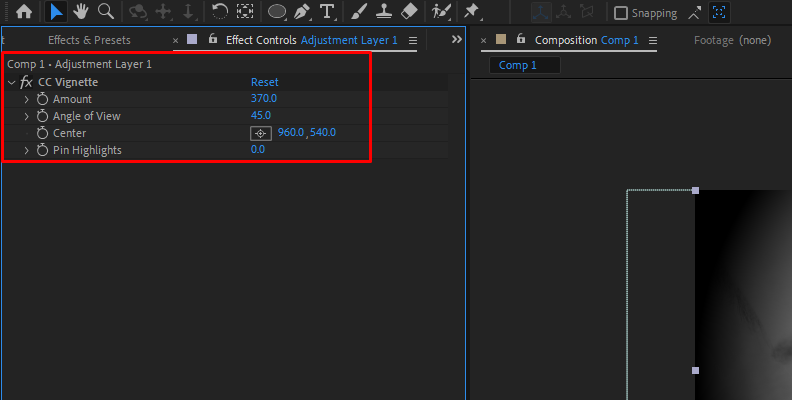
Step 2: CC Vignette Settings
In the CC Vignette effect controls, you can adjust the amount to set the intensity of the vignette, the angle of view, and the center point to create various vignette effects. You can animate the vignette effects parameter to create a dynamic vignette for your videos.
Create Vignette Effects in Adobe After Effects with BCC+ Vignette
For this next part of the tutorial, you'll use the BCC+ Vignette Effect from Boris FX Continuum. BCC Vignette is a filter that simulates the popular vignette effect to your videos. The vignette effect is easy to use, with built-in controls that are highly customizable for advanced users and video editors who love to craft new effects from scratch.
Download the Continuum free trial and install the Adobe After Effects version to follow these steps and add vignette effect to your videos in AE.

-
Step 1: Set Up Your Project
Create a new composition, import your videos, and drag them to the timeline. Make sure you have the latest Continuum update.
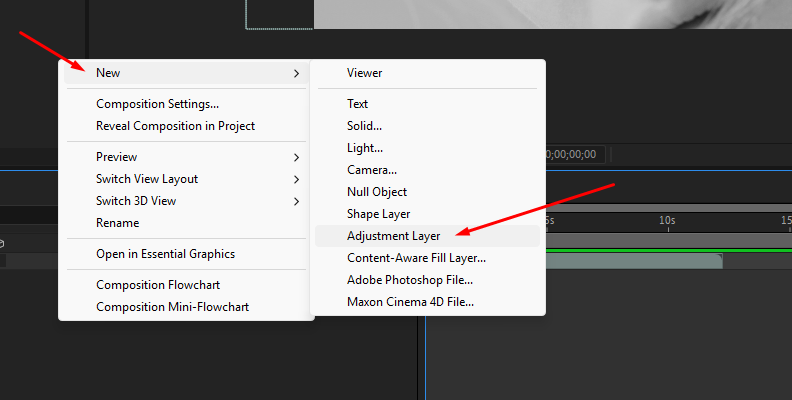
Right-click the layer panel and select New > Adjustment Layer to add an adjustment layer to apply the vignette effect to it. You can extend the adjustment layer to apply the vignette effect to all the videos under the adjustment layer in the composition.
-
Step 2: Apply BCC+ Vignette
Go to the Effect menu and search for BCC Film Style > BCC+Vignette. Alternatively, use the search box in the Effects and Presets panel to search for BCC+Vignette and drag it to the adjustment layer.
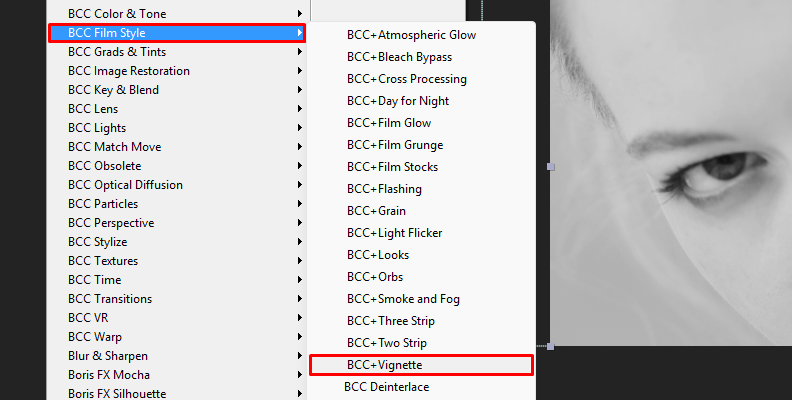
The BCC+ Vignette effect allows you to modify the vignette's color, opacity, blur, shape, size, position, rotation, softness, and more. It also provides presets to apply or use as inspiration quickly.
-
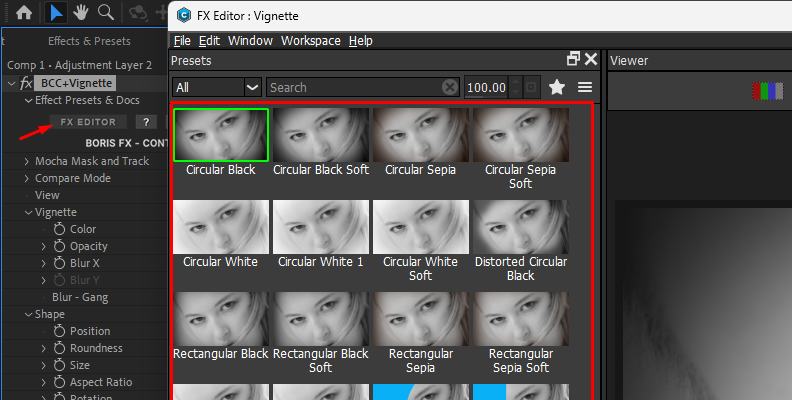
Step 3: BCC+ Vignette Preset Library
To access the preset library, display the effect controls panel and click the FX Editor button at the top. The preset gallery will launch with all presets on the left side of the screen. Select one, check the preview window, and click Apply to exit the preset library. You can restart the vignette effect or modify a preset from the effect controls panel in After Effects.
-
Step 4: BCC+ Vignette Settings
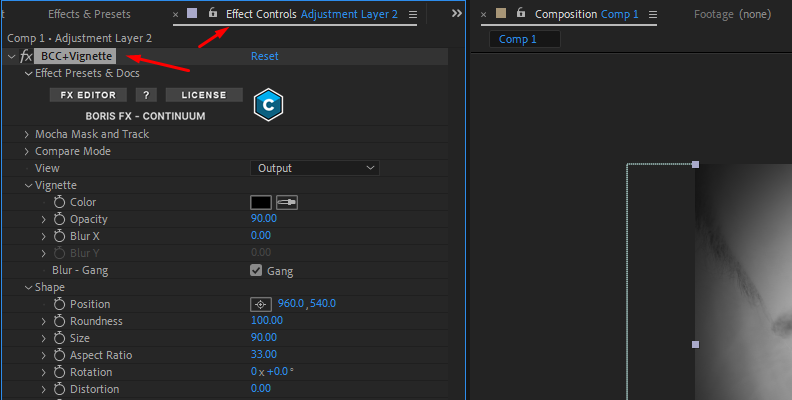
The filter is divided into two main parameters: Vignette and Shape. The first group of parameters controls the vignette effect, and the second one controls the characteristics of the vignette shape.
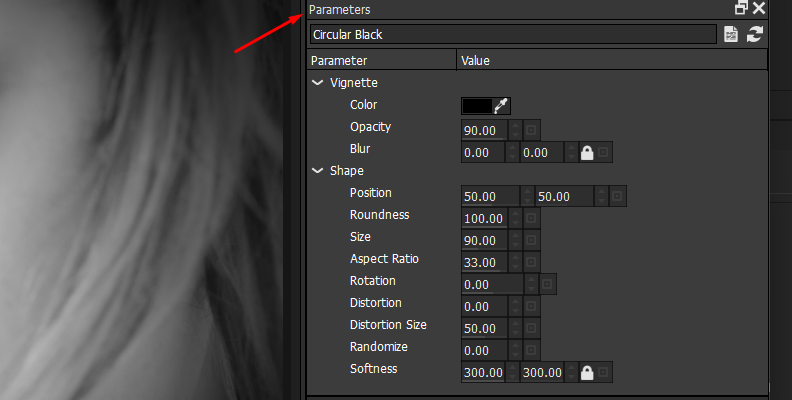
Under Vignette, you can change its color. Traditionally, vignettes are dark, but you can also create a light color vignette for dreamlike scenes. Change the color using the color picker and adjust the Opacity and Blur settings to defocus and soften the area of the vignette effect.
Under the Shape parameter, customize the shape of the vignette effect. Adjust the position to change the focus, roundness to make it square or circular, the size to cover more or less of the screen, and softness to blend the edges. With the Aspect Ratio setting, you can stretch the vignette effect to make it wider or taller.
The Rotation and Distortion settings can give the vignette an artistic look. They help draw focus to specific objects on the screen that a typical round vignette would not achieve. Distortion helps depict a character in a state of confusion, disorientation, or under a substance's effect.
Play with these settings and combinations to create vignette effects and experiment with different colors and shapes.
-
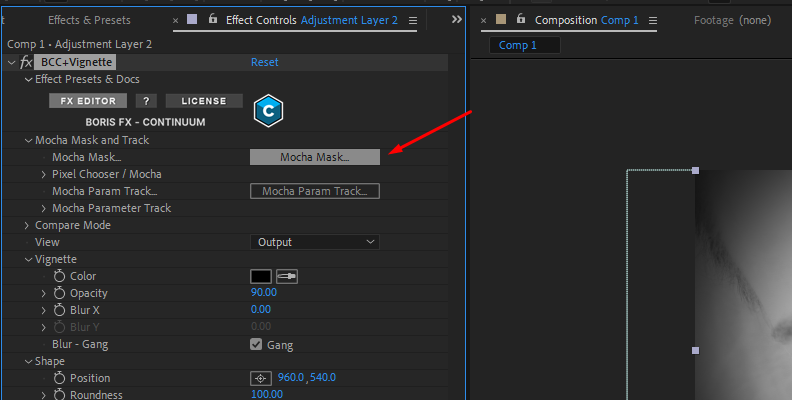
Step 5: Track and Mask with Mocha
BCC+ Vignette has Mocha planar tracker built-in. You can launch Mocha from the Mocha Mask and Track parameter in the BCC+ Vignette effect control by clicking the Mocha Mask button. With Mocha, you can mask and track objects or parts of the image where you want the vignette effect applied. It gives you even more control over your vignette effect.
Final Words
Vignette effects are an easy way to add depth and draw attention to subjects in your videos. With BCC+ Vignette, anyone can add a vignette in After Effects using presets and modifying them to shape your vignettes. Start your free trial today to explore BCC+ Vignette and other Continuum filters to upgrade your editing skills and tools.
Good luck!
FAQ
How to Adjust the Size of the Vignette Blur in AE?
If you’re building the vignette manually with a mask, you can adjust the size in the Mask settings. Click Shape in the Mask Path settings and adjust the bounding box values. You can also reset it to an ellipse or rectangle shape. Additionally, you can adjust the Mask Expansion to make it bigger or smaller.
If you're creating a vignette with the CC Vignette Effect, you can adjust the size of the vignette with the Amount setting. Increasing the amount closes the vignette, and decreasing it will expand it.
Can I Use Vignettes to Highlight Specific Areas in AE?
Yes, vignettes are a great tool to highlight an object or area of the image. When using masks, adjust the mask to the object you want to highlight. When using effects such as CC Vignette, you can add a mask to that layer to restrict the effect to a certain area. With BCC+ Vignette, you can make this using the integrated Mocha mask and tracker.