Adding titles and subtitles to your videos increases engagement and accessibility and adds value to your content. It helps people better understand the message by displaying subtitles, captions, titles, and text to highlight important information without relying solely on the audio when watching the video in loud environments or at low volume.
In today’s step-by-step guide, you’ll learn how to add text in Final Cut Pro X, the go-to editing software for Apple users. We’ll look at different methods to add titles using Final Cut Pro Titles tools and with Continuum.
Let’s dive in!
How to Add Text in Final Cut Pro

Final Cut Pro X has built-in features for adding text and titles to your videos. Follow the next steps to enhance your videos with titles, captions, and lower thirds.
-
Step 1: Organize Your Video Project
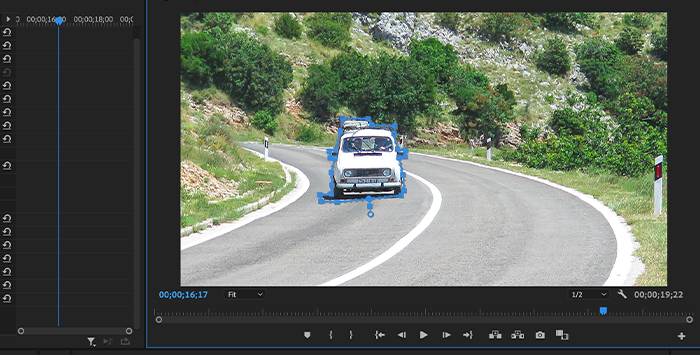
On your video editing software, create a new project or open a previous Final Cut Pro X project. Ensure that your clips are organized in the Final Cut Pro timeline before you add text and titles. Move the playhead in the timeline to the position where you want to add text.
-
Step 2a: Add Basic Titles
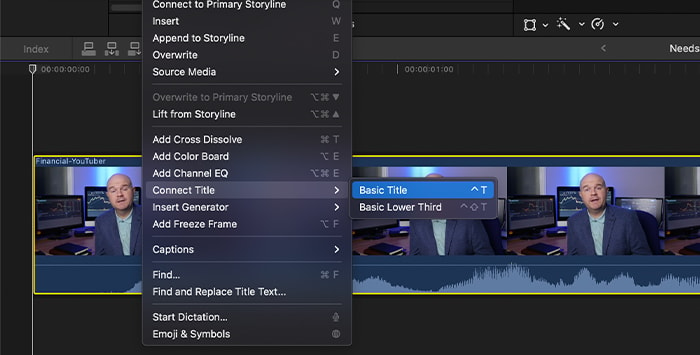
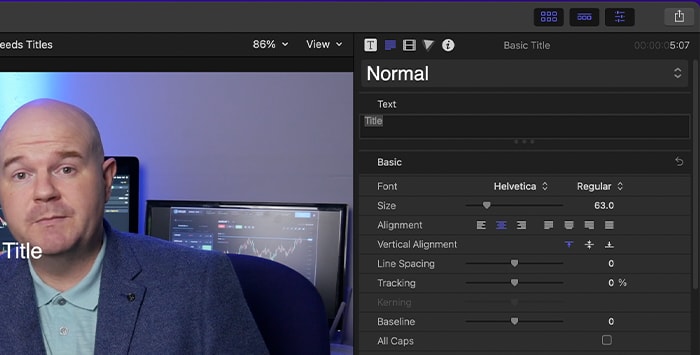
A basic title is a title text with no animation or effects. Go to Edit > Connect Title > Basic Title to add a basic title. The title will be placed at the playhead position. Click the title clip to display the Text Inspector options, where you can modify and customize your text format.
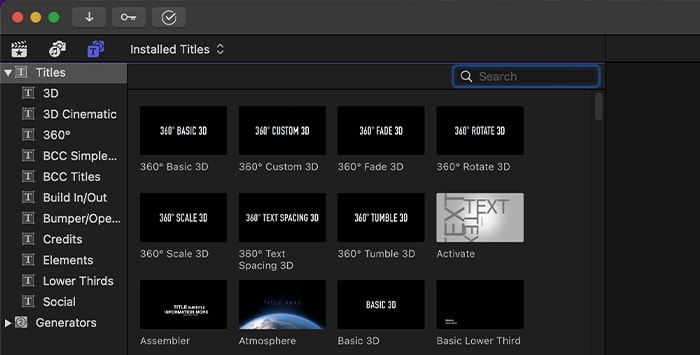
You can also go to Titles and Generators menu and select from the titles and lower thirds available. Find the Titles and Generators button in the menu. You can identify it by the T symbol on it. You can also go to Window > Go To > Titles and Generators.
-
Step 2b: Add a Lower Third Title
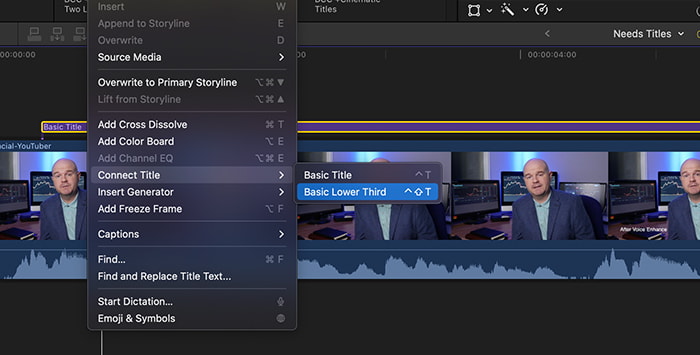
Instead of using a Basic title, you can use a lower third. Lower thirds are an essential title format used in videos to transmit extra information. You can add lower third titles from the Edit menu, Connect Title > Basic Lower Third or select a lower third from the Titles and Generators. Then, you can go to the inspector to type and edit your text.
-
Step 2c: Add Captions and Subtitles
Closed captions and subtitles are necessary and helpful for social media and short-form videos. Final Cut Pro has a way to add captions quickly. Go to Edit > Captions > Add Caption. In the inspector, you can type and edit your text.

Remember to organize all your audio and video in sequence before adding text. If you edit the video after the captions, it may go out of sync.
-
Step 3: Add Animated Text to Your Video
Final Cut Pro comes with pre-installed titles of different text styles and animations that are easy to use and add to your video.
In the Titles and Generators sidebar, click Titles to show all the different text and title styles in the browser. Drag and drop the desired title to the timeline or double-click the title to place the title clip at the playhead position.
Another option for a customizable animation is to add a custom basic title and modify the parameters in the Text Inspector to animate opacity, scale, position, rotation, blur, spread, and more. Then, you can add effects to these title clips. Click the Effects tab and drag the effect to the title clip.
-
Step 4: Edit Text in the Title Clip

To type your title, click the title clip in the timeline. Double-click the title text in the viewer and type directly in the text box. You can also go to the title menu in the inspector and type in the text editor. In the inspector, you can customize the text, such as font, size, alignment, color, and add a shadow.
If you need to change the duration of the title, drag the edges of the title clip in the timeline and then drag it left or right.
-
Step 5: Export Video
Play your video clip and make the necessary adjustments in your text. Once everything is as you want it, click the export button and save your new file.
Adding Text and Titles in Final Cut Pro with Continuum FCP
Continuum FCP is the Final Cut Pro X version of Continuum with a suite of plugins designed specifically for Final Cut Pro users. It features a selection of plugins of high-quality color correction and stylistic effects, transitions, stylized title templates, customizable cinematic generators, and lower thirds with auto animation and type-on effects.
Continuum FCP features text templates for different formats, including 16:9, 1:1, 9:16, 4:3. and 3:4, which are drag and drop. You can apply Continuum effects to your title clips and customize them with on-screen controls.
Let’s start by downloading and installing Continuum FCP on your computer. Ensure you have a supported version of Final Cut Pro (10.8.1 or above).
-
Step 1: Add BCC Title
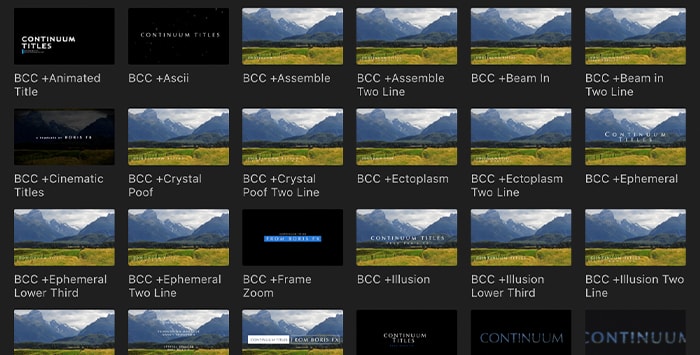
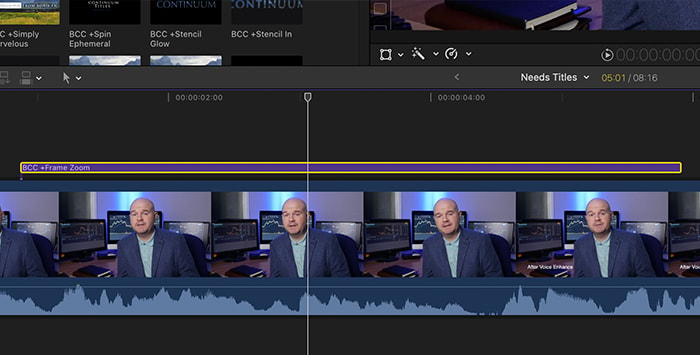
Click the Title and Generator icon and find the BCC Titles category on the sidebar. You'll find customizable titles and cinematic generators presets that you can quickly drag to the timeline. Some titles feature auto-animated lower-thirds and type-on effects. Click and drag the BCC Title to the timeline and adjust it to the length of the clip.
-
Step 2: Edit Text
Display the inspector panel and click the T icon to edit the text of the BCC Title. You can quickly change the Title Effect Style to use it as a main title, lower third, or multi-title effect and customize the text in the text editor box.
Depending on your selected BCC Title preset, you can change the banner colors and customize the featured Continuum effects such as lens flare, glitch, blur, light leaks, film glow, and more to fit your brand and project.
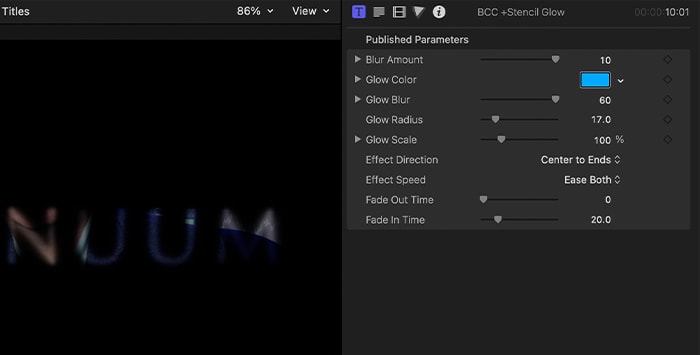
You can improve the look of your titles by applying other Continuum effects to your BCC Titles.
-
Step 3: Export Video
When you finish adding and editing all the titles and captions you need, click the export button to render the video. You’re ready to share the video with your audience with stylized titles.
Creating Titles with the Standalone Version of Title Studio
After installing Continuum on your computer, launch the Title Studio application. You can create new titles but not export them to Final Cut Pro. You'll need a compatible host like DaVinci Resolve or Premiere Pro to open your project. An alternative is to create the project in a compatible host and render your title. Then, import the video file into Final Cut Pro X.
These steps are the same whether you're using the standalone version or a compatible host, except for the last export step.
-
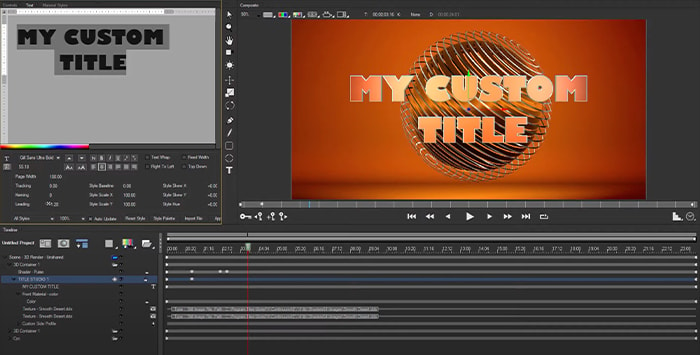
Step 1: Create a Title From Scratch
Add a new text track in Title Studio. On the bottom left corner, click the Add New Media button and select between Flat Text or Extruded Text. You can change the text's color, font, and style on the Text panel above your tracks.
You can also use the toolbar in the middle of the screen to add texts, splines, and shapes and type directly in the composite window. Each text or shape you add will appear as a new track in the tracks panel.
-
Step 2: Use Keyframes to Animate Text
To animate your text, you can use keyframes. Enable automatic keyframing by clicking the key icon in the composite window. Move the playhead to where you want to start the animation and change the parameter values you wish to animate in the controls window. To avoid animating other settings by accident, click the key icon again to turn off automatic animation.
-
Step 3: Export
If you're using the standalone application, you'll need to save your project and open it in a compatible host. Then render in your host as usual. If you're using the plug-in version, click apply to return to your host and save all changes. Then, render your video and import the title clip into Final Cut Pro X to use it for title sequences or credits.
Final Words
Final Cut Pro is a great option for beginner content creators and professional video editors alike. The title generators are easy to use and can be customized for multiple purposes, such as creating subtitles, captions, end credits, and more.
When you need to create cinematic title sequences or want to upgrade your video editing skills, dedicated title software such as Continuum Title Studio or Continuum FCP can provide more options for your workflow.
Get Continuum or try a free trial to explore and learn how to enhance your projects with dedicated and professional software.
Good luck!