If you're a street photographer, you know how important it is to blur someone's face before sharing a picture online.
For privacy reasons, sometimes we need to blur faces before uploading photos to our website, portfolio, or social media platforms. Another reason is to keep a person's identity or protect minors from personal or family videos that you want to share online.
Whatever your reasons are to blur a person’s face from the image, today we’ll learn how to blur faces in Photoshop using the blur tool, blur effects, and the Boris FX Optics plug-in inside Adobe Photoshop.
Let’s dive in!
How to Blur Faces in Photoshop

We'll start this tutorial using Adobe Photoshop's built-in tools to blur faces. It is worth mentioning that Photoshop has a dedicated Blur tool: you can create a radial blur around a specific focal point by applying Iris Blur in Photoshop, which is in the Blur Gallery, under the Filter section.
However, I find it hard to use it to blur faces from a photo. You'll need to paint over the face several times to hide it with the blur tool, which can be time-consuming if you want to blur multiple faces in the image. This tutorial uses the selection tools and effects to blur faces.
-
Step 1: Open the Photo in Adobe Photoshop
Create a new Photoshop document and open the image with the faces you want to blur.
Duplicate the layer using CTR/CMD + J, or right-clicking the background layer and selecting “Duplicate Layer”.
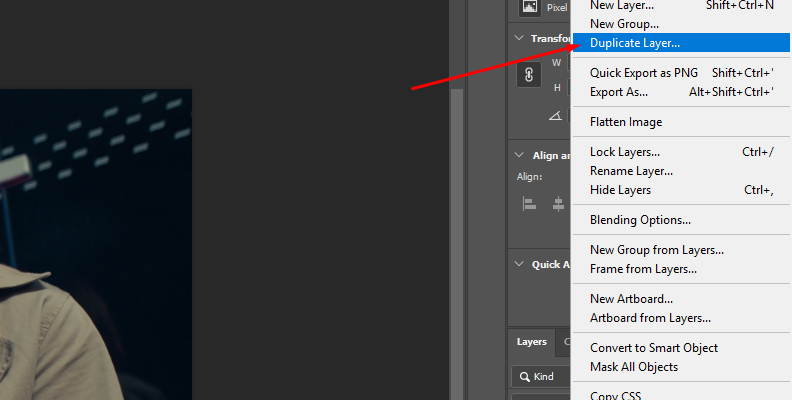
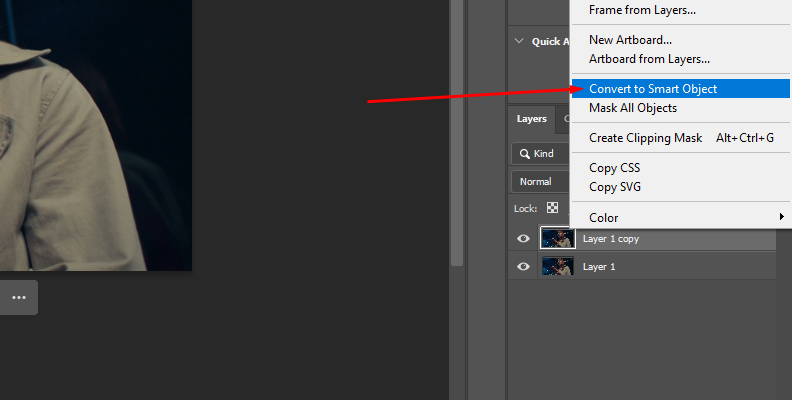
Then, right-click the duplicate layer and select the “Convert to Smart Object” option from the menu.
-
Step 2: Select the Face
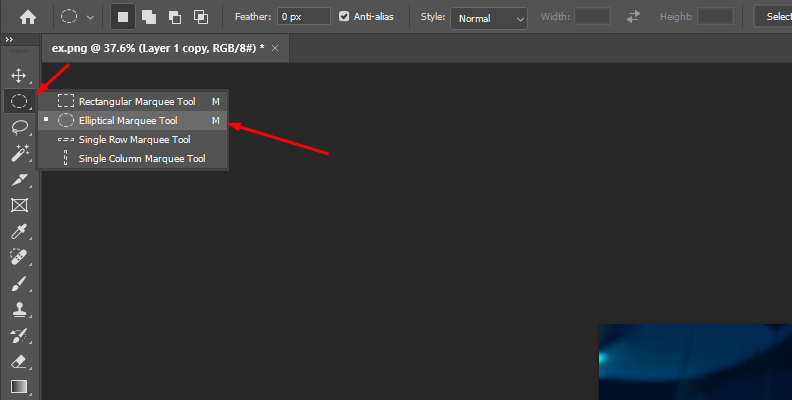
Go to the toolbar on the left and select the Ellipse Marquee tool to select the face you want to blur. You can use any of the selection tools available in Photoshop, but the ellipse tool will make it easier to choose faces due to its circular shape.
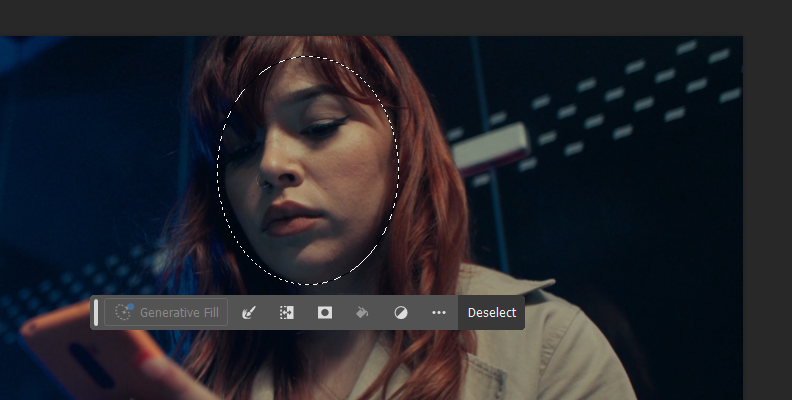
Click and drag to draw a circle around the face that you want to blur.
-
Step 3: Add Gaussian Blur
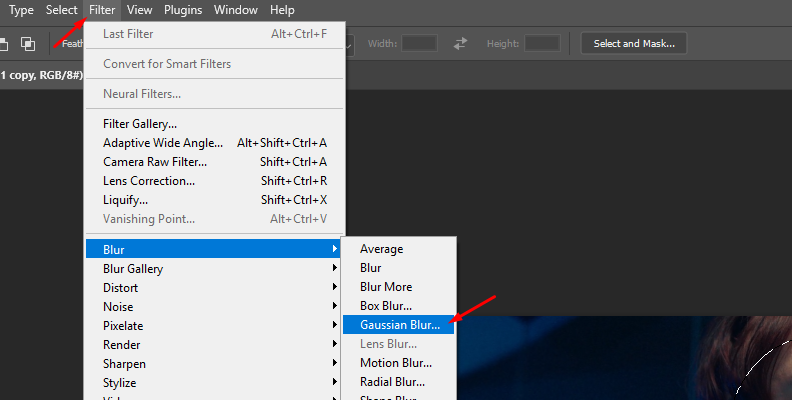
Go to the Filter menu and click Blur > Gaussian Blur.
When the Gaussian Blur window appears, use the Radius parameter to control the amount of blur to apply in the image.
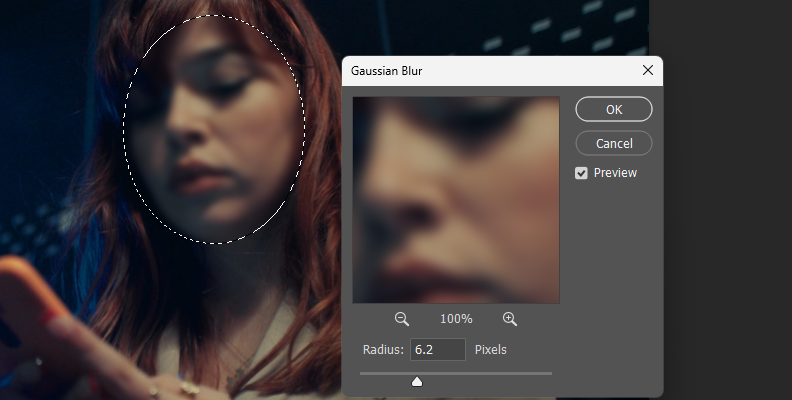
Because your layer is a smart object, you can click Gaussian Blur in the layer panel to edit the Gaussian Blur effect at a later step.
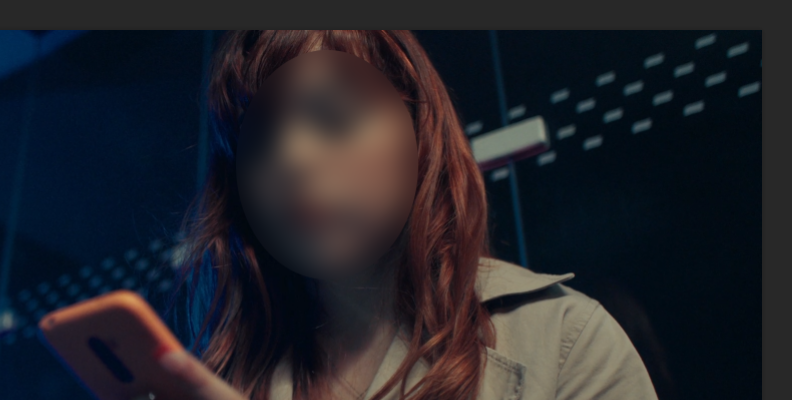
Press CTRL/CMD + D to unselect the face and see the result of the image. You can repeat the process to blur more faces, or use the next steps to blur multiple faces.
-
Step 4: Blur Multiple Faces
When you need to blur multiple faces, it's best to apply the Gaussian Blur effect to the entire image. Increase the Radius to a high value. The layer is a smart object, so don’t worry about applying too much for now.
Next, notice there's a Filter Mask thumbnail next to the smart object layer. For now, it is white, so click to select it and press CTRL/CMD + I to invert the mask and make it black. The Gaussian Blur effect should be removed, but don't worry, it's below the mask.
Select the brush tool and select the white color. Adjust the brush size to the first face to blur, and the other brush settings to your liking. Paint over the face with the brush to reveal the face blur effect. Keep painting over all the faces until you’re done. Change the brush size and other adjustments as needed for each face in the image.
You can click the Gaussian Blur effect in the layers panel to edit the Radius to increase or decrease the amount of blur for the faces.
-
Step 5: Blur Alternatives
There are other effects you can use to hide faces in a photo. A popular choice is the Mosaic filter to pixelate faces. If you want to try it, hide the Gaussian Blur filter by clicking the eye icon next to its name.
Go to the Filter > Pixelate > Mosaic, and adjust the Cell Size value in the dialog box. You can enable the preview to see how the pixels look before clicking OK. Remember, you can edit the filter if you want to make changes.
-
Step 6: Export Image
Once you blur the face or pixelate it, continue to export the image in your preferred format, and feel free to share the photo online, knowing that the privacy of those individuals in it is protected.
Blur Faces in Photoshop with Optics
Now, let’s take a look at how to blur faces in Photoshop using Boris FX Optics. If you’re not familiar with Optics, it’s a plug-in for Adobe Photoshop and Lightroom, as well as a standalone photo editing app designed to enhance photos professionally. It features hundreds of filters, particles, film stocks, and AI-powered masking tools that make blurring faces in a photo a lot easier.
You can follow this tutorial using the free trial and explore the rest of its features for 14 days.
-
Step 1: Set up the Image for Optics
Import the photo with the faces you want to blur into Photoshop. Duplicate the image layer and convert it to a smart object. Right-click the layer and select “Convert to Smart Object” to do it.
-
Step 2: Apply the Optics Plug-in
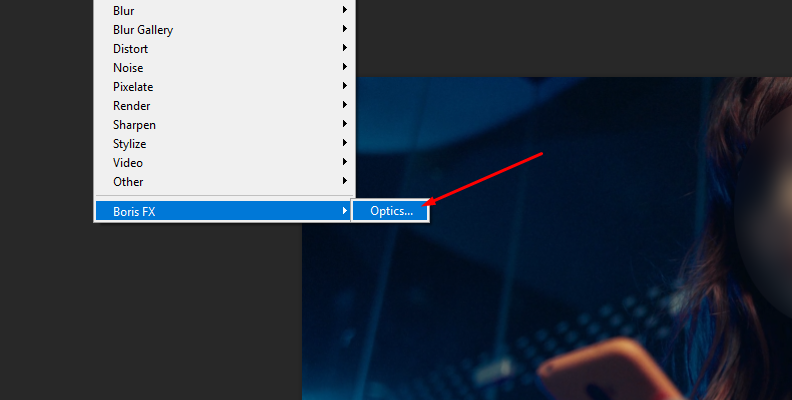
To add the Optics plug-in as a filter to the layer, go to Filter > Boris FX > Optics.
The Optics windows will launch with the same user interface as the standalone editing app. Wait for it to launch and import the image to the viewer.
-
Step 3: Mask the Face
Let's start by masking the faces you want to blur in the image. Optics offers several masking tools to expedite the process. Today, let's use Mask ML, an easy-to-use point-and-click mask generator that uses machine learning to identify and isolate objects.
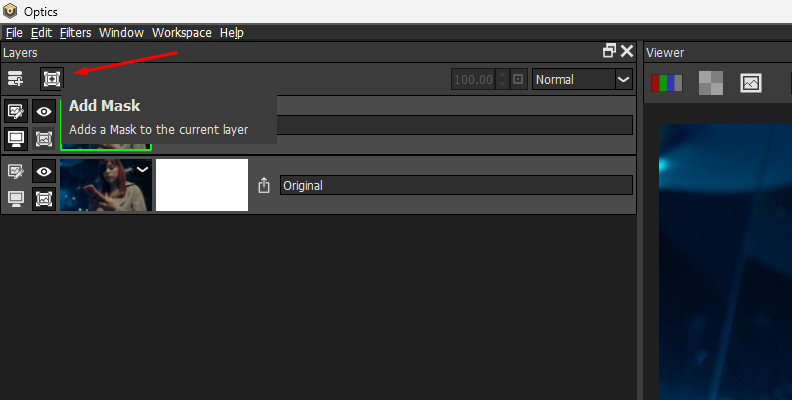
Click the Mask icon above the layers panel on your left side and select Mask ML from the options.

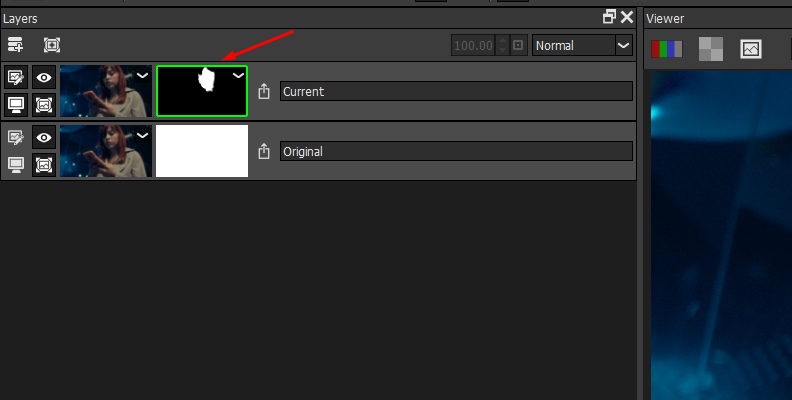
Click the face in the image, and Mask ML will automatically generate the mask. You can add adjacent areas by clicking on the image and removing areas of the mask with a right-click.
Press M to see the mask and Shift + M to see the mask overlay. When you have a good mask, press Enter or the Gear icon in the toolbar to generate the mask.
If you make any changes to the mask, remember to press Enter to apply the adjustments and recreate the mask.
-
Step 4: Add Blur Filter
Below the viewer are the filters organized by category. Click the Diffusion/Blurs tab and find the Blur filter, or use the search magnifying glass icon to search “Blur.”
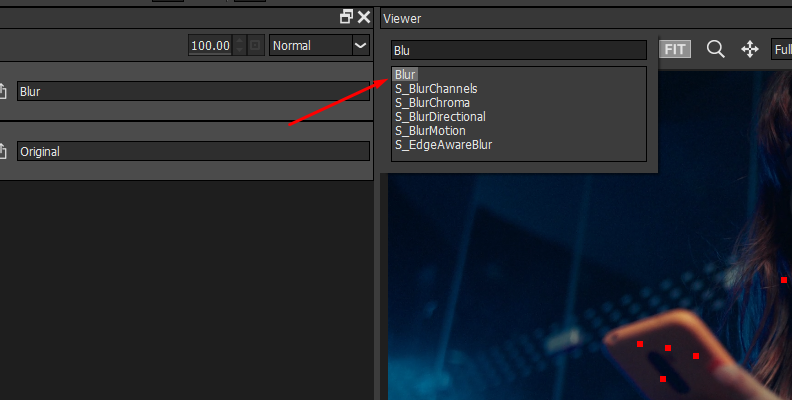
Click the Blur filter to apply it to the layer where you created the mask.
-
Step 5: Blur Faces
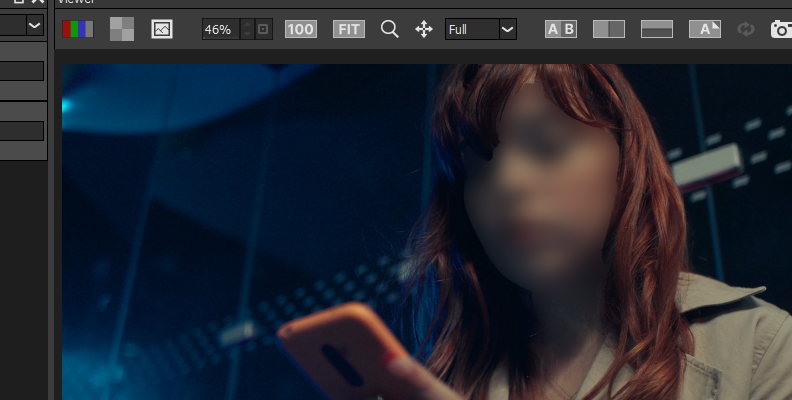
Navigate to the right side of the screen to the Blur filter parameters. These controls are intuitive, with only three settings to adjust the blur along the X and Y axis, and the gang parameter, which controls the horizontal and vertical blur together.
Because you have the mask on that layer, the Blur effect only affects the mask, in this case, the face. If you want to make changes to the mask after applying the Blur filter, click the mask thumbnail and adjust the edge size and position, then press Enter.
-
Step 6: Refine Blur Manually
If you need to make further adjustments or add more blur, you can manually add blur using the Blur tool. Click the Add Layer icon to create a new layer and apply the Paint filter. Select the Blur tool from the toolbar and adjust the brush size and smoothness. Start painting over the parts of the face you want to refine.
You can blur faces with the blur tool, but when you have multiple faces to blur, masking and using a blur filter is faster.
-
Step 7: Save Image
Once you have finished blurring all the faces in the image, click the Apply button at the bottom of the Optics UI. Back in Photoshop, export the image.
Final Words
Using the two methods shown in this tutorial, you can now blur images to protect someone's privacy, but also to add artistic elements to your compositions, create motion blur, or amplify motion.
Even if there are multiple faces to take care of, the Mask ML tool from Optics is the quickest way to mask objects and apply filters. If you’re looking for an all-around plug-in to enhance your photography, do not hesitate to try Optics! Start with a 14-day free trial and then choose to purchase a monthly or annual subscription or a perpetual license.
Good luck!