Adjusting the playback speed of a video, whether to slow it down for a dramatic effect or speed it up for a time-lapse sequence, can be utilized in numerous creative ways, making it a versatile technique that benefits every video editor.
No matter the type of content you're creating, whether you're editing commercials, making video tutorials, or are more towards the cinematic side, working on film trailers or fast-paced action-packed edits, chances are you will find a way to benefit from knowing how to speed up or slow down a video in your software of choice.
That said, in this guide, we'll help you learn more about the process of speeding up a video or creating a slow-motion effect, so tune in, and let's get into it!
How to Speed Up a Video in Premiere Pro
Before we get into it, we want to make clear that speeding up or slowing down a video is possible in almost all modern video editing programs. However, for this specific guide, we'll be focusing on Adobe Premiere Pro, one of the easiest and most user-friendly workspaces for video editing.
In this section, we'll be speeding up a video in Adobe Premiere Pro using the built-in tools and functions and without the use of any external plug-ins or third-party software.

So, here's what you need to do:
-
Step 1: Launch Adobe Premiere Pro and Create a New Project
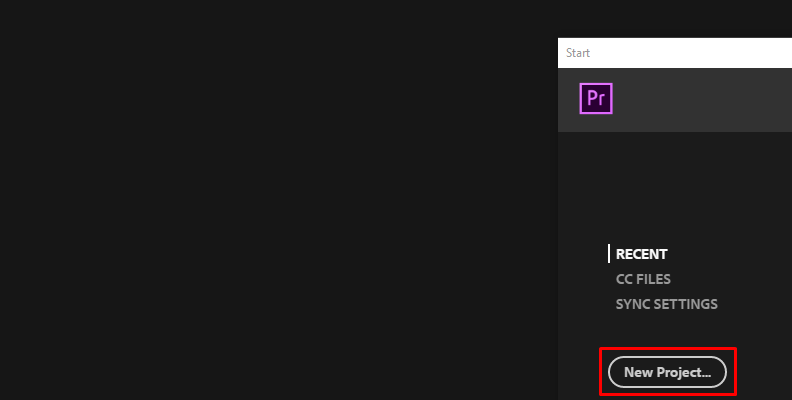
The first step would be to launch your software of choice, in our case Adobe Premiere Pro, and create a new project using the "New Project" button on the home screen you see first once the software loads.
-
Step 2: Import the Video You Want to Speed Up
The next step after creating a new project is to import the video you want to speed up into Adobe Premiere Pro.
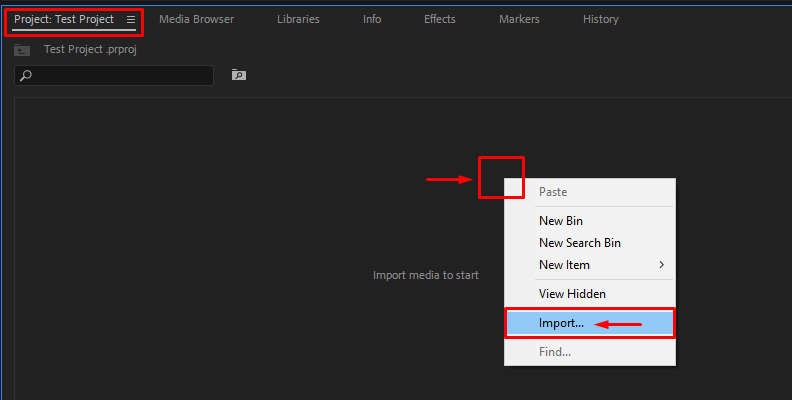
To do this, navigate to the "Project" tab by clicking on it.
Then right-click anywhere into the empty area where it says "Import Media To Start" and choose "Import" from the list of options as shown in the image below.
-
Step 3: Create a Timeline/Sequence from the Video You Imported
Now, you need to add the video you just imported to your timeline area to create a sequence of it so that you can make any edits to it, including a speed ramp such as the one you want to do.
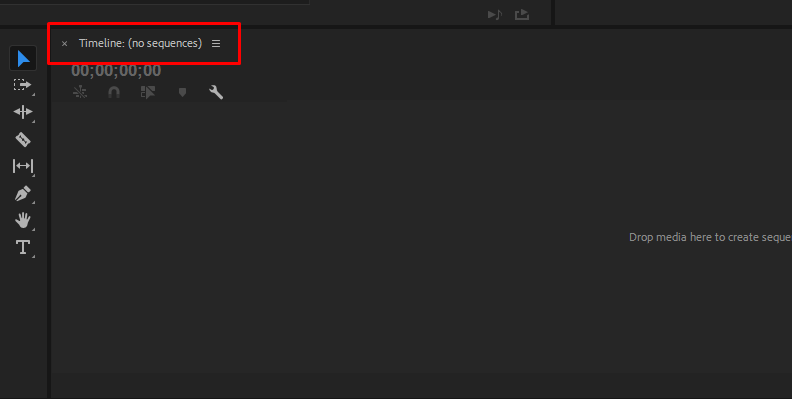
As you can see, the timeline area is now empty.
To create a sequence of the video you just imported, you just need to drag it from the "Project" tab onto the timeline area, as shown in the image below.
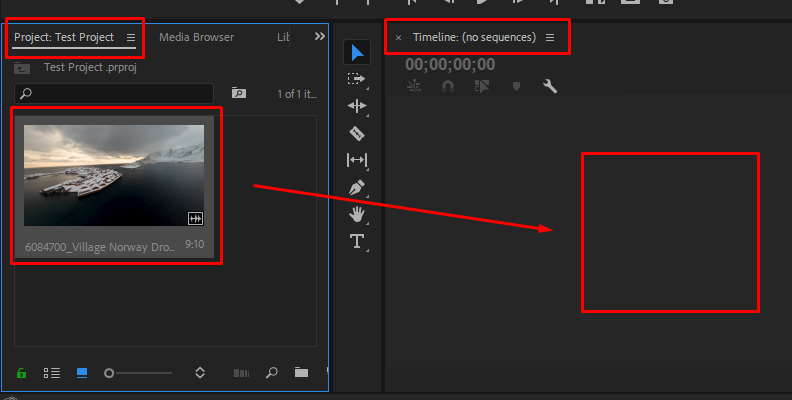
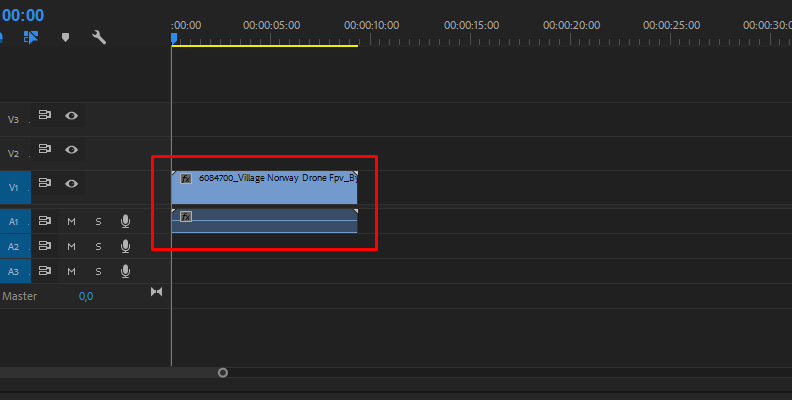
Now, the video is set on the timeline and ready for editing. You can trim, adjust video speed, add effects, change audio pitch, and anything else you need to do.
-
Step 4: Adjusting the Speed of the Video
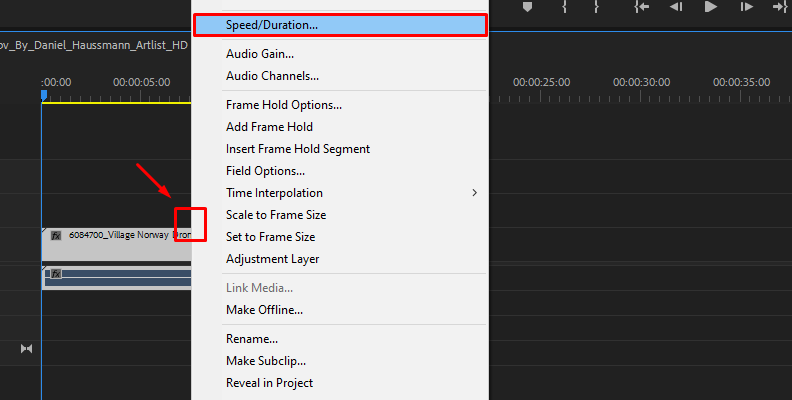
To adjust the video speed, once it's laid out on the timeline panel you need to right-click it and choose "Speed/Duration" from the list of options.
Then, in the additional panel that shows up, adjust the "Speed" parameter, which is set in percentages, by choosing a number for your desired speed to speed up or slow down the entire video or just a part of it if you've previously decided to cut out a segment.
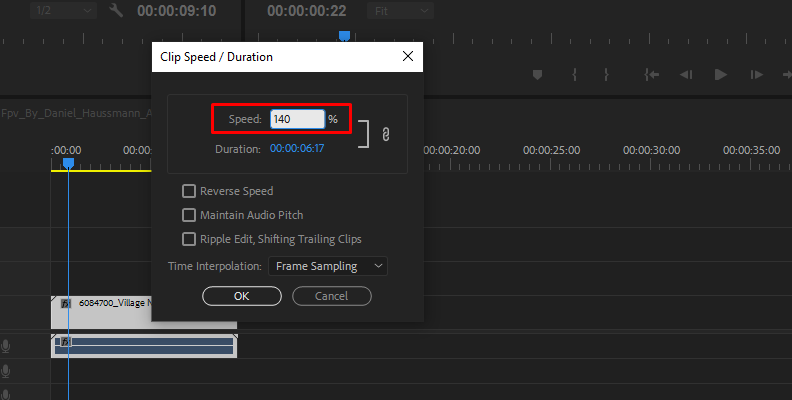
If you decide to speed it up, as shown in the image above, you will notice that upon clicking the "OK" button, the video on the timeline will become shorter.
That's pretty much all you need to do. You can experiment with different time interpolation modes too for better results.
As for slowing down the video, all you need to do is set a percentage number lower than 100%. The process is exactly the same, though for creating perfect slow motion, we recommend recording using a higher framerate and then reducing the playback framerate within your editing software.

When done, simply save the changes and export.
Please keep in mind that when doing this, you won't be able to maintain the audio pitch for the video you're speeding up or slowing down unless you unlink the audio track from the video.
How To Speed Up a Video in Premiere Pro with Optical Flow
Plug-ins and third-party tools are not always necessary to create top-tier content and master-level edits. However, they do help a lot and make things much simpler and easier, especially for beginners.
In this section, we'll be using BCC Optical Flow to speed up a video.
Optical Flow is part of Continuum by Boris FX, available for both Windows and Mac OS, and compatible with all popular video editors, like Adobe Premiere Pro and After Effects, DaVinci Resolve, VEGAS Pro, Avid, and more.

In Continuum, you'll find hundreds of effects, transitions, presets, filters, and everything else you need to step up your video editing game to a whole different level.
There's also a free trial version available that you can download and install to see if you'll find the tools useful. The content will be watermarked until you activate the product using a bought license, though, so keep that in mind.
Once you properly install and configure Continuum, all tools will be available within the compatible video editors. Assuming you've already completed this step, here's how to use Continuum's Optical Flow to speed up a video within Premiere Pro.
-
Step 1: Import Media and Create a Sequence
The first step would be to import the video you want to apply the BCC Optical Flow effect to within Premiere Pro. If you are unsure how to do this, check the previous section for more information on creating a new project and importing media.
Then, you need to create a sequence. To do this, simply drag and drop the video you imported from the "Project" tab onto the timeline panel. This will automatically create a sequence of that video that you can later on cut, edit, apply effects to, and do anything else you need. You will also be able to see the sequence in the "Project" tab.
When done, move on to the next step.
-
Step 2: Apply the BCC Optical Flow Effect
Usually, in Premiere Pro, we set the video or image to the timeline, then access the "Effects" tab and drag and drop the effect over it. However, when using BCC Optical Flow, the process is slightly different.
We first need to create a solid (video slug) and apply the effect to it instead of the original video.
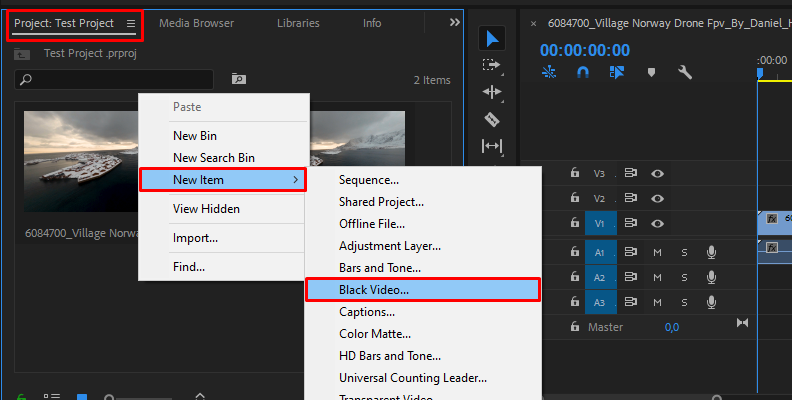
To do this, navigate to the "Project" tab where you imported media, then right-click anywhere on an empty area and choose "New Item" -> "Black Video" as shown in the image below.
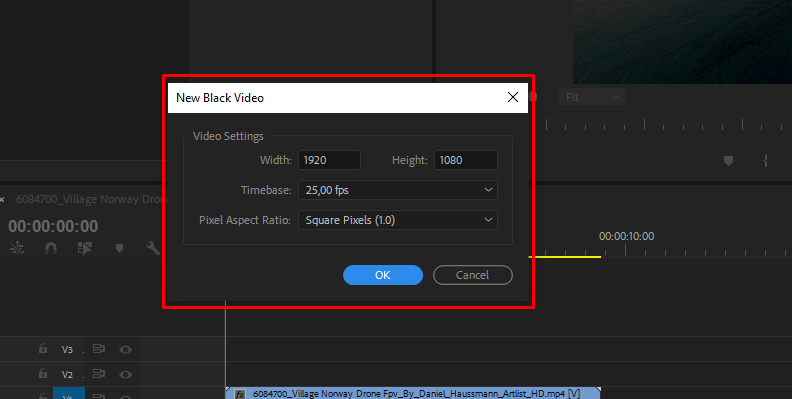
Choose the settings that match those of the original video, and press the "OK" button.
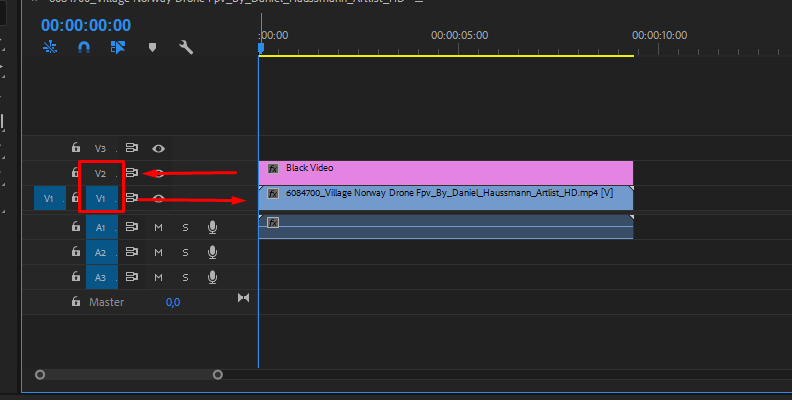
Now, you need to place the slug one video track above the original video. On the left side of the timeline area, you can see the video and audio track numbers. If your original video clip is set to V1, place the slug on V2, which stands for video track 2.
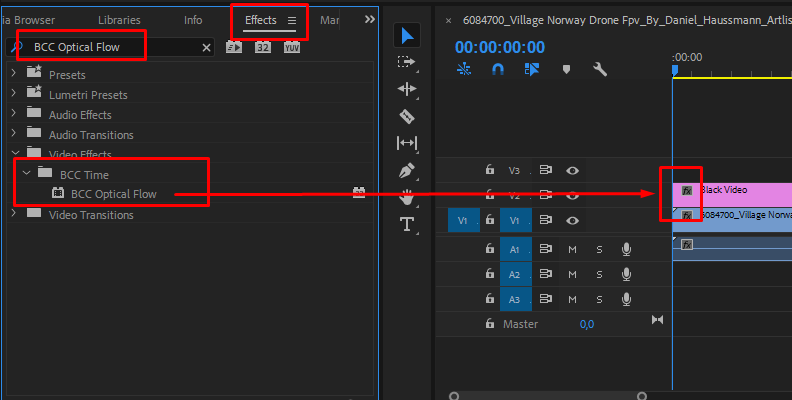
Now, navigate to the "Effects" tab and find the BCC Optical Flow effect. You can use the search bar to find it easier as there are hundreds of effects available due to the Continuum pack being installed.
When you find the effect, which is under the "BCC Time" folder, drag and drop it over the black video/slug/solid you created earlier, as shown in the image below.
After you apply the effect, it's time to access the Effect Controls Panel and change some settings and parameters based on your project's needs.
-
Step 3: Adjust Settings in the Effect Controls Panel
Now you need to access the Effect Controls Panel which is located in the top-left corner within Premiere Pro. First, click on the black video slug to which you applied the BCC Optical Flow effect to select it, and then open the Effect Controls panel by clicking on it.
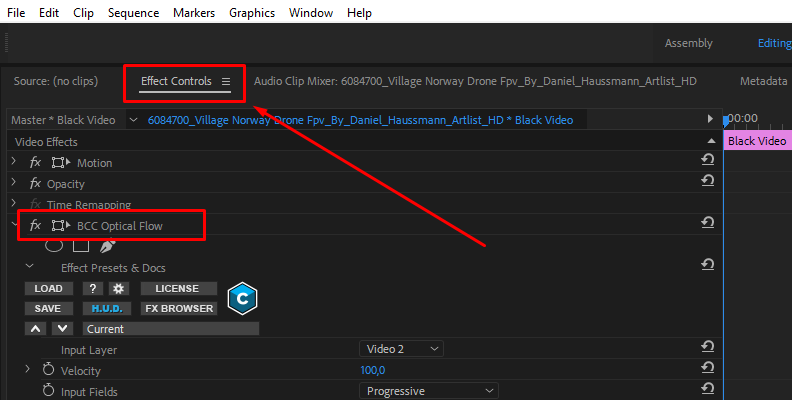
Once you access the Effect Controls panel, you'll notice the BCC Optical Flow effect is applied to the video. Now, the first step is to find the "Input Layer" setting and expand the dropdown menu to choose the video we're "targeting" with the effect, which in our case is our original video that is set on V1 (video track 1).

Next, we access the "Velocity" tab. This is where we have our speed controls, which is a simple slider that, if set to a value from 0-99, will slow down the video, and anything above 100 will speed it up.
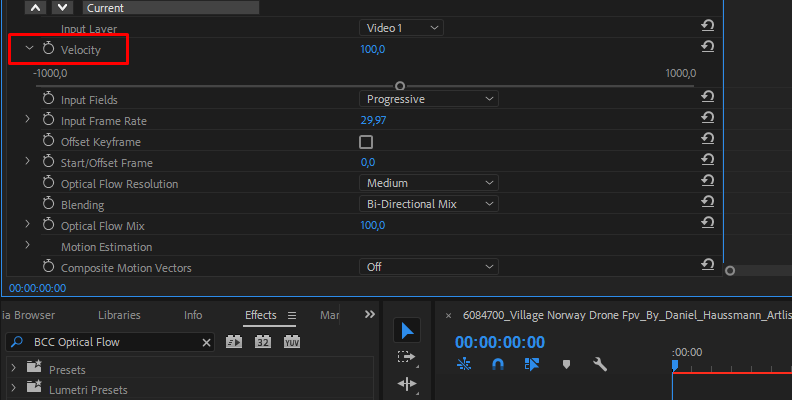
From here, you can adjust various other settings to get the smoothest results possible, but most of the work will already be done since these two steps alone will allow you to speed up or slow down your video.
For more information on all other settings available and their function, take a look at the BCC Optical Flow info page.
Final Words
That covers everything you need to know about speeding up or slowing down a video within Premiere Pro, both using the software's built-in settings and a helpful tool from Boris FX Continuum.
Knowing how to properly do this will help you with both "on the fly" projects and more serious edits.
We wish you the good luck with your future work and thanks for reading.
FAQ
This section covers the most frequently asked questions and answers on speeding up and slowing down a video in Premiere Pro, a technique used for various creative solutions in the video editing sphere.
Hopefully, you will find concise answers to all your questions here.
Is there a shortcut to speed up a video in Premiere Pro?
You can access the speed duration panel by simply right-clicking the video and choosing the panel from the list of available options. From there, it's only a few clicks to change the video speed, as shown in the section above.
What if I only want to speed up or slow down one part of my video?
You can make necessary cuts to your video and use the speed duration panel to only apply the speed changes to those parts. To cut a video in Premiere Pro all you need to do is press the "C" button on your keyboard to activate the razor tool and then click anywhere on your video where you wish to cut.
I want the speedup/slowdown to change as the video plays. What do I need to do?
This is called a speed ramp, and you can do it by enabling the show clip keyframes setting and then choosing Time Remapping ->Speed as shown in the image below. From here, you will see a white speed control track over the clip on your timeline that you can increase or decrease at specific points, which will make your video play at your desired speed at the desired moments.