Working with video footage requires powerful tools to add and create stunning visuals that evoke the emotion you’re trying to portray. Today, many color grading and correction tools allow you to achieve that, but sometimes, they are time-consuming or too complex to use. Luckily, LUTs allow you to transform, correct color, and craft inspiring looks for your footage.
In today’s article, I’ll explain LUTs and how to add and use them inside Adobe Premiere Pro. Also, I’ll show you how to use Sapphire to mix your favorite LUTs into one wonderful look.
Let’s dive in!
What Is a LUT?
LUT stands for Look Up Table. LUTs can process and manipulate an image's color in your videos. They are highly used in the color correction and color grading process. Think of LUTs as presets or filters you apply to your video to change color or color-correct footage.

So, why would you want to use LUTs? LUTs can help you quickly achieve a consistent look and tone across all your video clips in the timeline instead of manually adjusting color correction filters in Premiere Pro. They also allow you to have a quick preview of how the video will look.
In Premiere Pro, LUTs are categorized as Input LUT and Looks. Input LUT is used as a starting point for color grading and correction and looks to modify the video image’s color scheme to produce a professional style. Some LUTs come ready to apply warmer or cooler colors or to work with specific colors, such as skin tones.
You can find and download free LUTs online. There are free packages and paid options, but all will work within Adobe Premiere Pro. You can also import and export LUTs in Adobe Premiere Pro to use in your next video project and other software. Just be careful to select the right format when exporting.
In Adobe Premiere Pro, you can use two LUT file types: .look files, which are Lumetri Look presets, and .cube files, the most common custom LUT file types. Look LUTs will only work within Premiere Pro, and cube files allow you to take your custom LUT file to other software like Adobe After Effects, DaVinci Resolve, and Final Cut Pro to maintain the same color tones in your video projects.
How to Add LUTs in Premiere Pro
In the following step-by-step tutorial, learn how to add LUTs in Premiere Pro.

-
Step 1: Import Footage
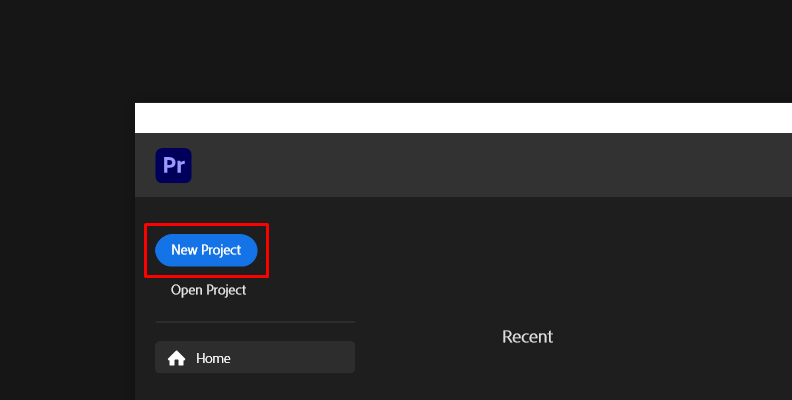
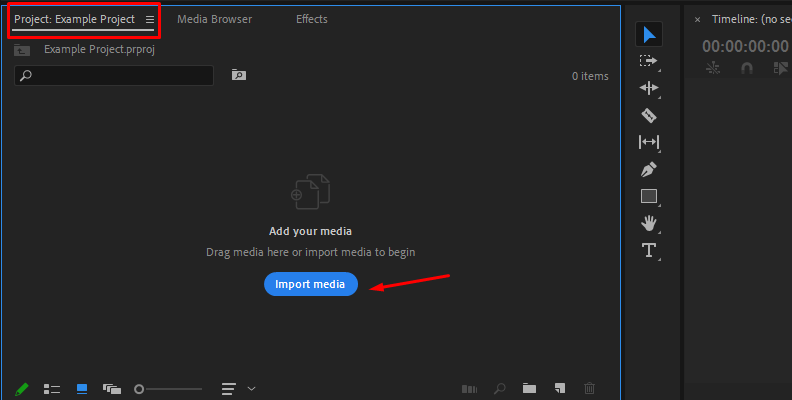
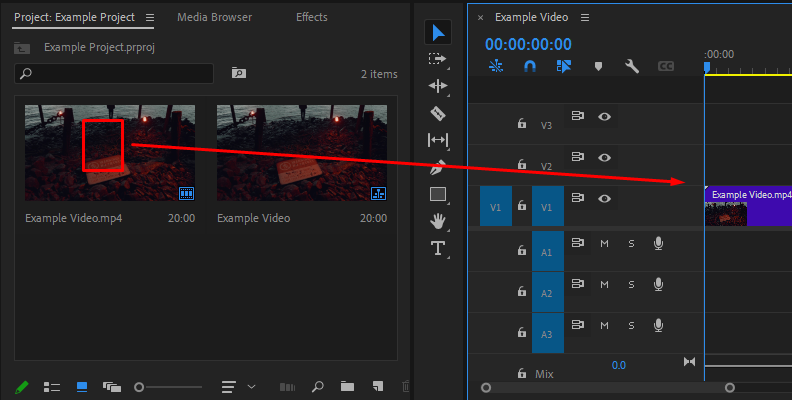
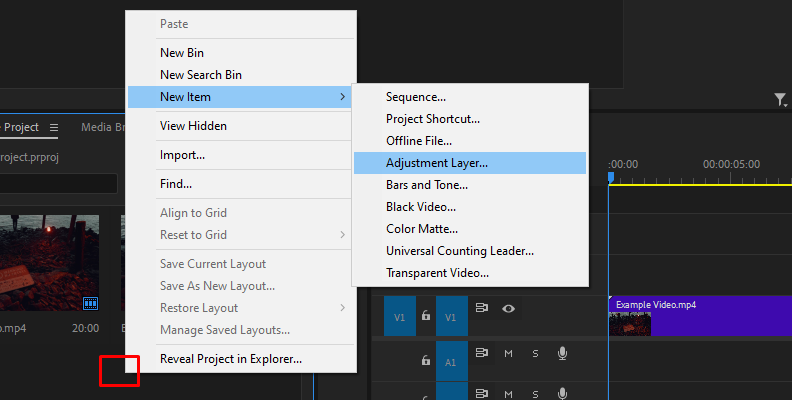
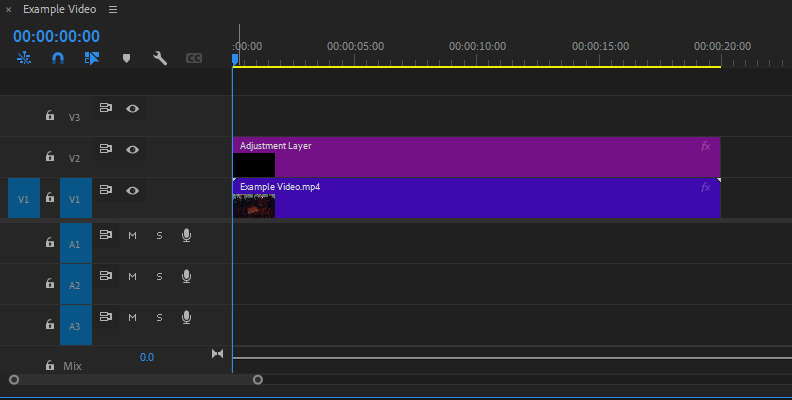
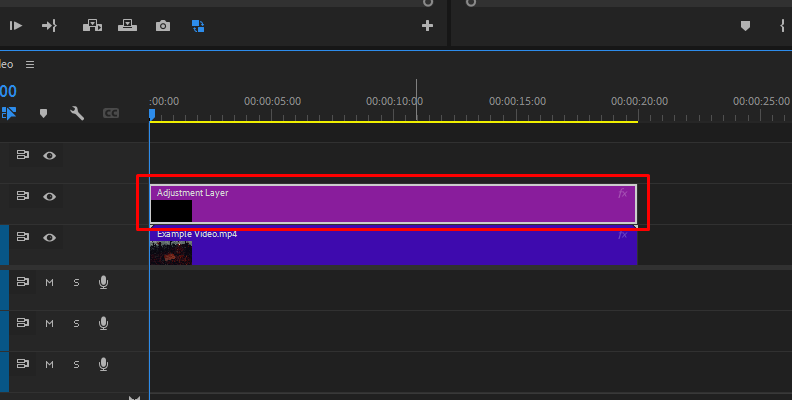
Start a new project in Premiere Pro and import your video clip to create a new timeline. Drop your footage in the timeline and arrange it. Finally, add an adjustment layer above your clips where you’ll apply the custom LUT.
-
Step 2: Applying LUTs in Premiere Pro
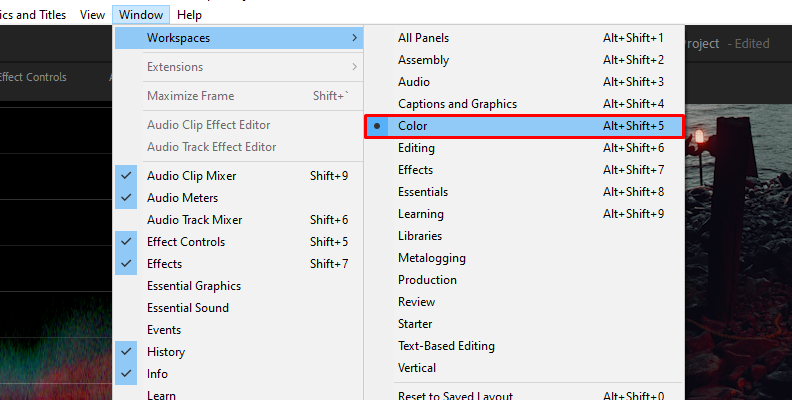
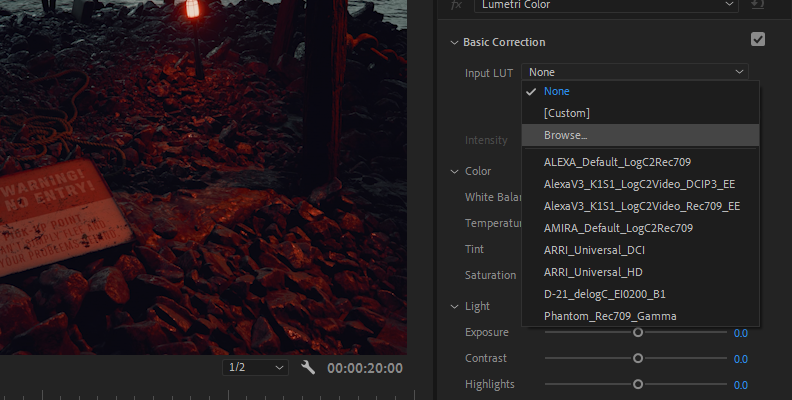
To apply a single custom LUT file to a video clip, display the Lumetri panel in the Color workspace. If you don’t see the Lumetri color panel, go to Windows > Workspace > Color. Once in the Lumetri panel, you have two options: to choose the Basic Correction tab or add LUTs from the Creative tab.
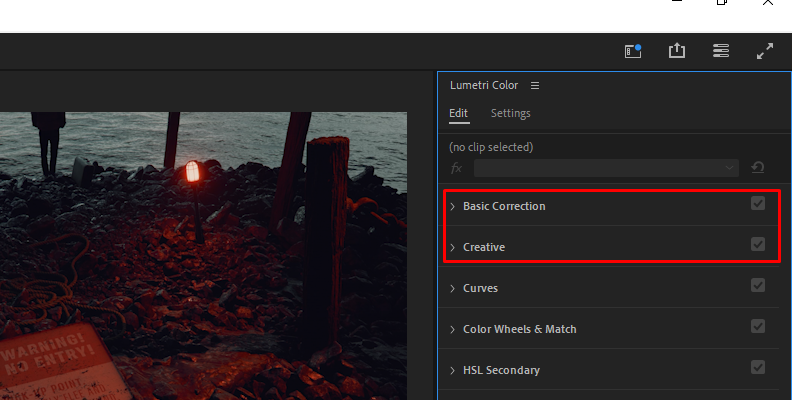
From the Basic Correction tab, display the Input LUT dropdown menu to see some LUT presets. Click Browse to search for the folder where the cube file is on your system, and double-click to open it.
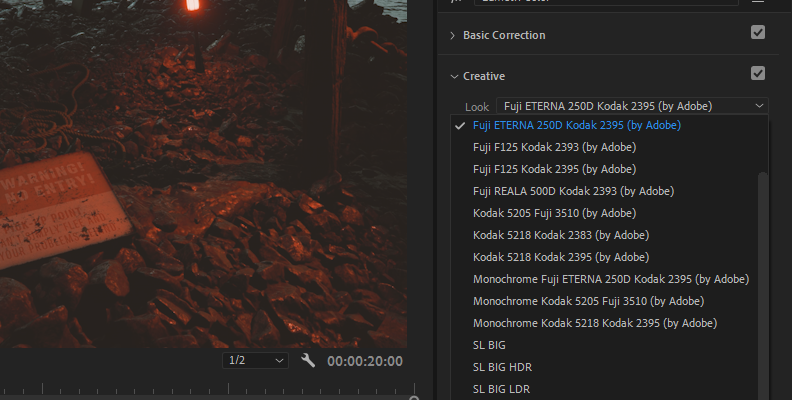
To use LUTs for creative looks, click the Look dropdown menu from the Creative tab in the Lumetri color panel and then click Browse. If you installed your free LUTs in Premiere Pro, they will appear here.
Once the cube file is applied to your footage, you can continue editing using the other color tabs in the Lumetri color panel. The rest of the tools in the Color Workspace allow you to change the intensity, white balance, saturation, and more.
-
Step 3: Install Custom LUT Files in Premiere Pro
Applying your free LUTs and searching individually for each project can hinder your workflow. Installing LUTs in Adobe Premiere Pro will make your custom LUT files available from the Creative tab in the Lumetri color panel instead of the Basic Correction tab. Follow the next steps for your operating system to install LUTs.
-
Install for Windows users:
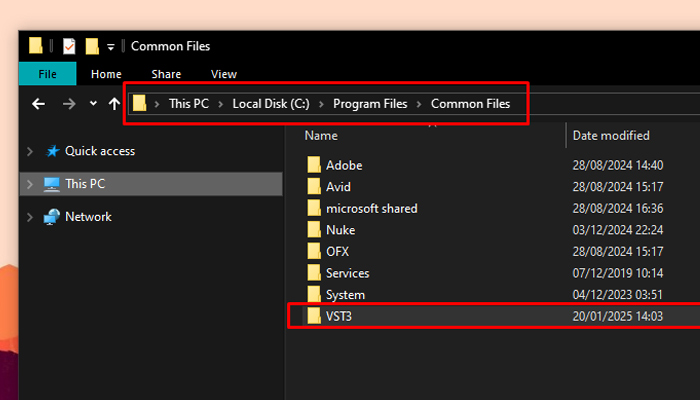
Copy your LUT files into the Windows directory C:\Program Files\Adobe\Adobe Premiere Pro 2024\Lumetri\LUTs\Creative and restart your Premiere Pro session.
-
Install for Mac users:
Go to Applications in your finder window and find the Adobe Premiere Pro folder. Right-click it and select “Show Package Contents.” Now follow the directory Contents > Lumetri > LUTs > Creative and copy your custom cube files in this folder.
-
How to Use LUTs in Premiere Pro with Sapphire
If you ever want to combine multiple LUTs in Premiere Pro for more advanced looks, the next steps will guide you through using Sapphire’s ColorFuse to enhance your video footage by combining up to three LUTs to create beautiful looks. ColorFuse comes already with pre-installed LUTs to get you started.
For this tutorial, you must downloadsapphire

-
Step 1: Apply Sapphire ColorFuse
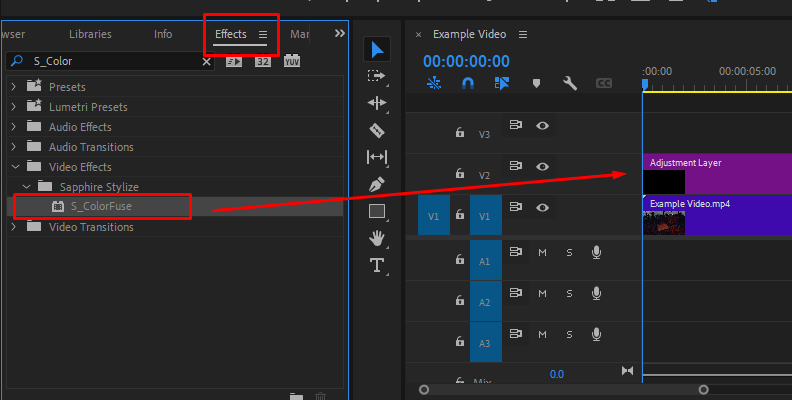
Add an Adjustment Layer to your timeline and adjust it to the length of the video footage to which you want to add LUTs. Then, go to your Effects panel in Premiere Pro, search for S_ColorFuse, and drag it to the Adjustment Layer.
-
Step 2: ColorFuse Settings
In the Effects Control panel, display the ColorFuse settings.
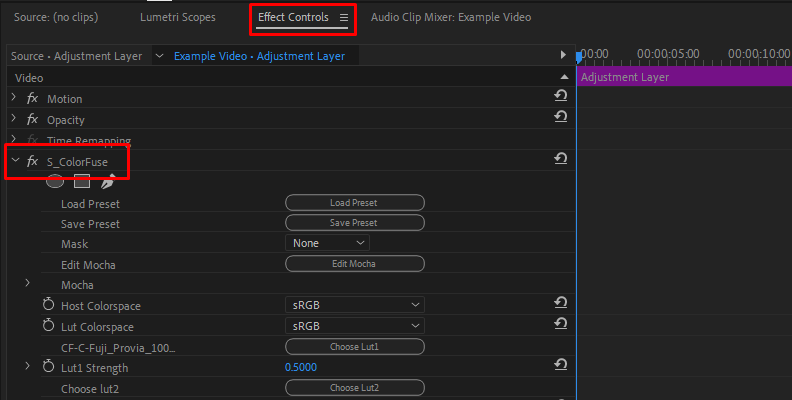
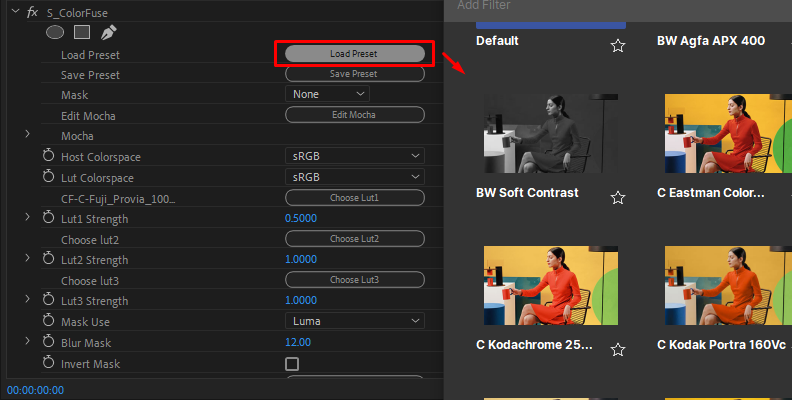
There, you’ll see the spaces to add or browse for three different LUTs, each with a strength control to adjust the intensity of the LUT. ColorFuse also comes with presets you can load by clicking on Load Preset and then modifying it.
When working with ColorFuse, ensure the Host Colorspace matches the one in your Premiere Pro project and the LUT Colorspace matches the LUT you’re using. Otherwise, you will get inconsistent color results.
-
Step 3: Save Presets
If you create a look you want to use in future projects, you can save your mix of LUTs as a preset by clicking the Save Preset button. Give it a name and click Save to store it as a regular preset, or Export if you want to store it somewhere else or pass it to your team.
The convenience of saving presets in ColorFuse is that all the adjustments are saved within the preset, so you don’t need to install the external LUT cube file you have used on another computer or a different host, which speeds up your workflow.
Final Words
LUTs are an easy way to make your video footage more professional by adding beautiful colors and a professional look, and Premiere Pro presets are good enough to start. However, you can also go for the best and get tools like Sapphire’s ColorFuse, which features 50 presets and a starter pack of creative LUTs, plus the possibility to mix up to three to transform them the way you need them, limited only by your creativity.
Start your Sapphire free trial now and explore the plug-ins you can work with, including flares, light rays, blur and distortion, film effects, transitions, and more.
Good luck, and stay creative!