Recording audio and video without paying attention to sound quality is a perfect recipe for disaster. Ask any content creator or filmmaker, and they will agree that audio is one of the most important elements of a video.
In today’s article, I’ll review each aspect of audio recording to achieve top quality when recording sound for video, including audio equipment, mic placement, recording tips, software, and audio post-production.
How to Record Audio For Video
The first thing you need when recording audio for video is a microphone and an audio recorder. For an audio recorder, you can use hardware like your mobile phone, a recorder or software in your computer such as Audacity, the camera itself (if it has audio inputs), the voice memo app on your phone, or a professional DAW like Pro Tools.
I’ll start with the equipment you need, from basic to advanced, so you can pick options that fit your budget. Then, I’ll review the process of recording high-quality audio for video.
-
The Microphone
The microphone is a crucial component of your audio recording equipment and will define the quality of your audio. Yes, you can use your camera or mobile phone's built-in microphone when you're just starting out, but if you want to capture high-quality audio, you must add an external microphone to your recording equipment.
Microphones come in a plethora of designs, types, and brands. Let’s start by choosing the type of microphone best for you based on the pick-up pattern. The pickup pattern is the direction from which the microphone picks up the sound for recording. These are the most common patterns:
-
Directional Mics: These microphones capture sound from one side of the mic, usually the front side. They are best suited for videos with only one speaker, like voice-overs, to avoid background noise being captured from behind the mic.
-
Bidirectional Mics: A bidirectional mic's polar pattern can capture sound from two sides of the mic. This type of mic allows you to record sound from two sides of the mic simultaneously, for example, for interviews with a second person or live music performances.
-
Omnidirectional Mics: These microphones record audio from all sides of the microphone. It’s the best choice to record a room with multiple people or capture ambient sounds.
It’s important to know which type of content you're going to record so you can choose a microphone that captures top-quality audio for that purpose. The next thing to consider when looking for an external microphone is based on the design and build, which leads us to the distinction between dynamic and condenser microphones.
-
Dynamic Mics: These microphones are sturdy, can tolerate higher sound pressure levels, do not require additional energy, and are more forgiving of background noises. You can find directional and omnidirectional dynamic microphones.
-
Condenser Mics: Condenser microphones are more sensitive but can record more pristine sound. They require an additional 48V Phantom Power energy supply and will record more unwanted noises in untreated recording environments. You can find directional, omnidirectional, and bidirectional patterns.
Finally, microphones can be classified by their form factor type. Here’s a list of the most popular types:
-
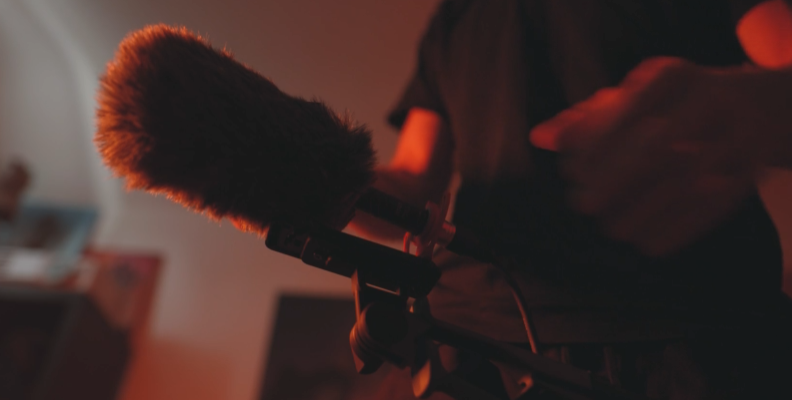
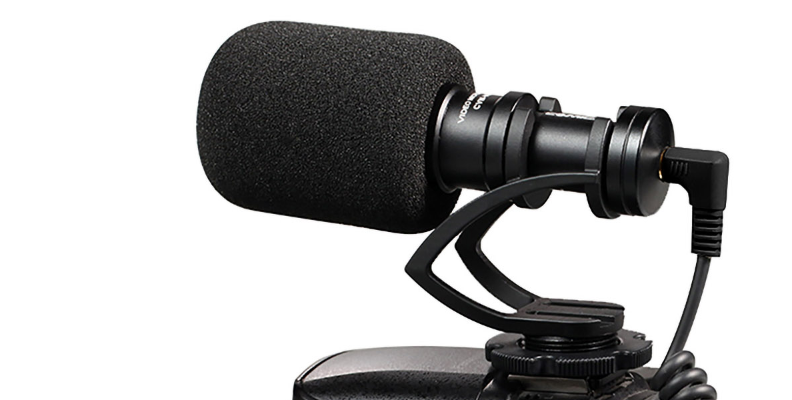
Shotgun Mics: These are long-shaped microphones with a directional polar pattern. A shotgun mic can be placed above your DSLR camera or on a boom arm to point to the speaker in the video. They are a great option for outside recording locations due to their unidirectional pick-up pattern.
-
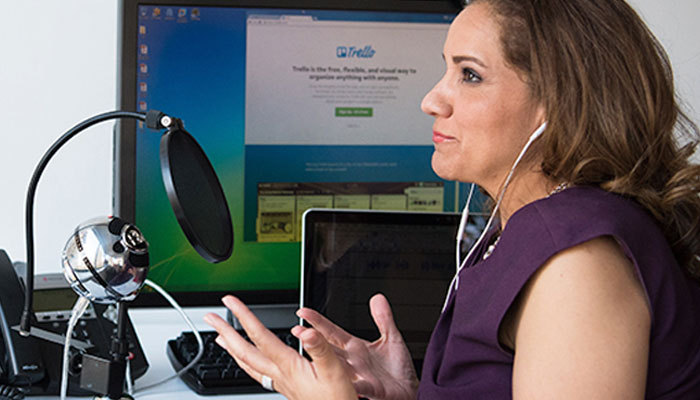
Lavalier Mics: You have probably seen a lavalier mic in many news shows and vlogs. These small microphones go in the collar at chest height. Lavalier mics are also used in filmmaking, concealed under the talent's garments. If you don’t want a visible microphone on camera, lavalier mics are easy to hide. They come in omnidirectional and directional patterns, but you must be careful with rustle noises.
-
Wireless Mic: Another option is using wireless microphones. Choose those with a transmitter and receiver over a Bluetooth microphone for best-quality audio. Many lavalier mics have a wireless audio recording system, but newer options work with mobile phones and cameras with USB-C connections.
-
Field Recorder: Using a portable field recorder as an external microphone can help you achieve good-quality audio. The only drawback might be that you'll need to sync the audio in post-production if it cannot be connected to your camera.
-
-
Microphone Tips
Find an external mic compatible with your camera or video recorder. Check your device's connections, such as a 2.5 or 3.5 audio jack, USB-C, lighting, etc. Using an external mic in your video recorder will allow you to have one audio and video recording device.
One tip for beginners recording audio and video separately is using wired earbuds as lavalier mics. You should hide the cable and earpieces under your clothes and leave the mic exposed near your chest, then connect the mic to your mobile phone, a recorder, or a computer to record the audio.
-
Recording Device
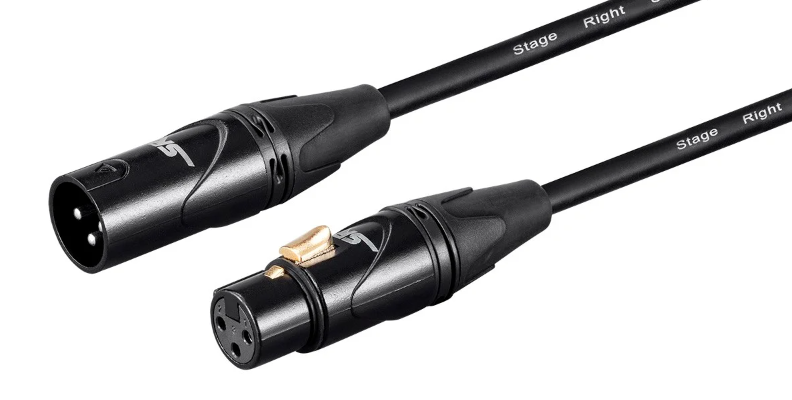
Most microphones connect via USB, 3.5 jack, or XLR. If your microphone has a USB or a jack plug, you shouldn’t have much trouble connecting it to your audio recorder. However, if you have an XLR microphone, you must get a recording device with XLR inputs or an adapter.
Connecting your mics through XLR can improve audio quality compared to connecting them directly to your computer via USB, which can add self-noise from its internal components. Most audio interfaces and mixers have XLR inputs, as do some handheld and field recorders. However, they can also work as independent external microphones.
Here’s a brief list of the most popular audio interfaces and recorders for XLR microphones:
Focusrite Scarlett 2i2 4th Gen
Tascam DR-40X Handheld Recorder
Additional things to look for in audio interfaces are preamps, sample rate, number of inputs and outputs, and bundled software.
-
Preamps
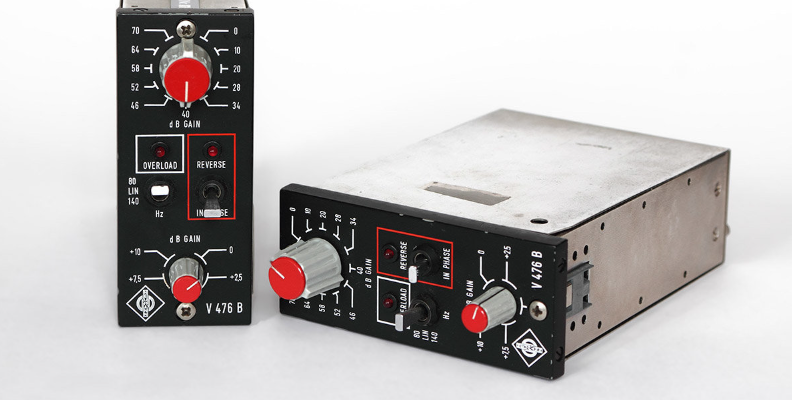
Preamps amplify the signal from your microphone. Most audio interfaces feature good-quality preamps, so you won’t necessarily need to buy an external preamp.
External preamps improve sound quality, add more gain to a low-output dynamic microphone (over 60dB), and reduce noise. But before you buy external preamps, I recommend investing in a high-quality condenser microphone, an audio interface, and recording in a room with acoustic treatment.
-
Headphones
Recording audio with headphones helps you reduce unwanted sounds from being recorded. Wearing headphones for monitoring will also allow you to hear yourself to make your best performance and listen to the room noise during a test recording.
-
Audio Recording and Editing Software
The market is flooded with options for audio editing software. Debating which is best would be an extensive debate. You can check our picks for Best Podcast Recording Software, where we review a few of the most popular ones. Some things to look for in any audio editor are its workflow, features, multi-track editing user interface, and supported file formats.
We have selected the best options based on skill level in the following list. You have free options, and most of the paid options have a free trial you can explore to find the right tools for you.
Beginner Options
-
Audacity (Free)
-
GarageBand (Free)
-
Mobile Phone Built-in Recording App (Free)
-
Reaper
Intermediate Options
-
Adobe Audition
-
Premiere Pro
-
DaVinci Resolve
-
FL Studio
Advanced Options
-
Logic Pro
-
Pro Tools
-
Ableton Live
-
Cubase
-
-
Recording Environment
Poor audio quality is sometimes the result of a bad recording location. Unless you work in a recording studio, you must optimize your space to record the best audio quality possible. Big empty rooms will add echo, crowded places will add too much background noise, and outside locations could add traffic noise.
If you will record in a dedicated studio, treat and soundproof it before recordings begin. When recording outside, scout the recording location and make test recordings to see how to reduce unwanted noises in your videos.
-
Recording Tips
It's time to press the record button! Here are a few tips to record good audio:
Mic Placement: This is sometimes overlooked when recording a video. The microphone must be as close to the sound source as possible. Remember that depending on the pick-up pattern, a side of the mic captures the sound, so ensure you’re speaking to the right side of the mic. Be careful when placing a lavalier mic to avoid recording muffled sounds.
-
Test Recordings: Perform a test recording to ensure your audio is captured at the highest quality possible. Make adjustments such as rearranging the mic, adding audio effects in your software, changing cables, using a different microphone, or treating your recording room.
-
Setting up Audio Levels: When doing a test recording, play with the audio levels and gain until you have the right settings in both your audio recording device and the software if you're using a DAW.
-
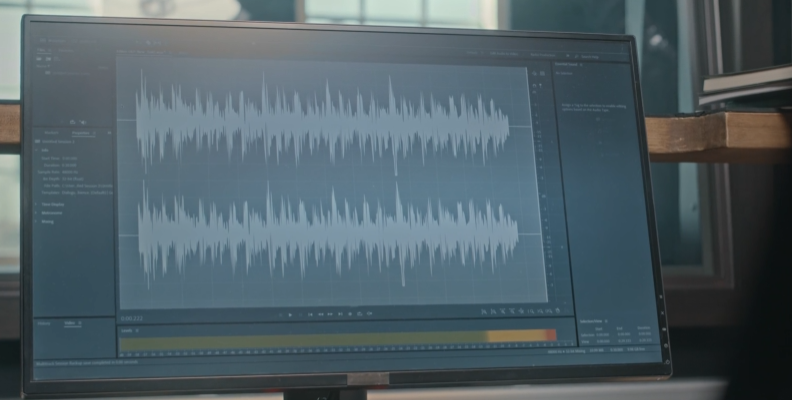
Syncing Audio in Pre: Recording with an external mic requires you to find ways to make the synching easier in post-production. The classic clap will be enough to sync the audio by looking at the waveform in the audio editing software.
Post-Production Effects
Now that you’re done recording, it’s time to use your recording software to edit, add effects, and clean up your audio before syncing it to the video. You can add music and sound effects to make the video more appealing.
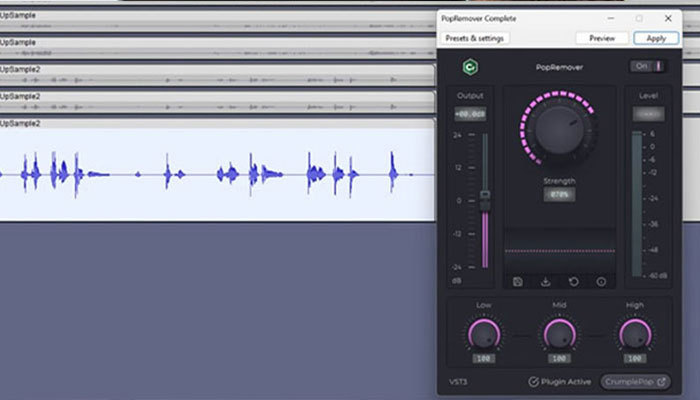
Noise Reduction with CrumplePop

Noise reduction is one of the most used effects in audio and video post-production. When you need to remove clicks, pops, noises, and rustles from lav mics, CrumplePop noise reduction plug-ins will turn your lousy recorded audio into studio quality in a few quick settings.
CrumplePop plug-ins are easy to add to your audio tracks, and its AI algorithm will analyze, identify, and solve your audio issues. These plug-ins work in the most popular software, so you won’t have problems using them inside Audacity, Audition, or Premiere Pro.
Hear It For Yourself
Advanced audio AI removes noise and boosts your vocal quality.
Toggle it on/off to hear the difference.
Remove Wind
Remove Noise
Remove Pops & Plosives
Level Audio
Remove Rustle
Remove Echo
Remove Wind
-
EQ
Equalization allows you to shape the tone to enhance the clarity of your voice. With EQ, you can boost or reduce frequencies. It helps eliminate hums, hissing sounds, and other noises. It can also balance the levels of music and make the sound effects more realistic. Your software's built-in EQ should be enough.
-
Reverb
Reverb can help you add more space, depth, and dimension to a room. If you record in a studio but need to add some reverberance to your speech, as if you were walking through a tunnel, the reverb plug-in will allow you that. Reverb tools are essential in music and sound design. Your audio software should also come with a built-in reverb effect.
-
Compressor
A compressor is useful for maintaining consistency in the overall volume of your audio by keeping the loud sounds lower and boosting the lower sounds. Like the other basic audio effects, compressors can be found in most audio editors and DAWs.
-
Sound Effects
Adding sound effects and music to your videos will enhance their impact. You can record or create your sounds or use libraries that offer sound effects. Some good sources of royalty-free music and sound effects are Epidemic Sound and Pixabay.
Final Words
In summary, start with what you have and then upgrade equipment as necessary. Invest in an external microphone to improve the audio quality of your video camera. Remember, there are several options for microphones. If you often record outside, consider a lavalier mic or a shotgun microphone that connects to your camera.
Your audio editing features should have everything you need for post-production, but consider CrumplePop for noise reduction. Audio is the most important part of your videos, and these plug-ins are easy for beginners and professionals to use to achieve top-quality video audio.
Finally, consider buying a pair of headphones, learning mic placement techniques, mastering your audio recording software, and building your recording environment to avoid capturing unwanted background noise.
I hope this guide has been helpful and sheds some light on how to start recording audio for videos.
Good luck!
FAQ
Should I record audio and video separately?
Yes. Recording audio separately will result in better sound quality. Getting an external microphone or using your mobile phone to record audio and your video camera for the video will improve the quality of your work.