Reducing the green spill has never been easier.
We have all heard about using a green screen or chroma key in video production for visual effects, adding a different backgrounds, or removing objects. Chroma key and green screen techniques are widely used in Hollywood films, television commercials, professional video productions, and by small content creators and YouTubers, but they often present a problem called green spill.
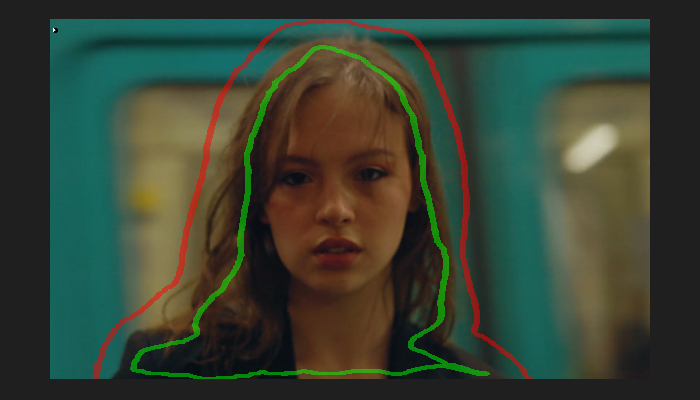
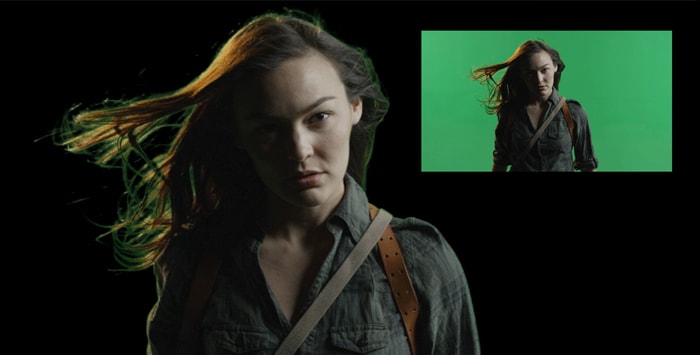
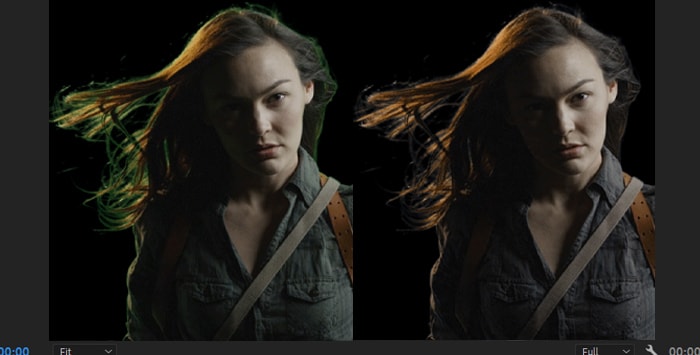
The green spill is the reflection of the green screen onto your subject. This causes a problem because it wipes away the illusion created by the chroma key and the green screen. So, you now have to clean up and refine the matte to remove the color spill.
In today's post, I’ll show you how to remove green screen spills from your videos using BCC+ Spill Remover, a spill suppression plug-in available in Continuum. I will also provide best practices for your green screen setup to avoid green and other color spills in your green screen footage.
Let’s dive in!
Step by Step: How to Remove Green Screen Spill from Your Green Screen Setup Using BCC+ Spill Remover
For this tutorial, you'll use a dedicated spill remover plug-in from the Continuum plug-in suite to remove green spill color issues from video footage in post-production.

BCC+ Spill Remover is an advanced plug-in designed to eliminate spills from green, blue, and red backgrounds when using Chroma Key to remove a green background. It effectively suppresses the key color in the foreground image or creates a light wrap around the green spill, covering it.
The BCC+ Spill Remover plug-in is included in the Continuum suite.
-
Step 1: Install BCC+ Spill Remover
To install BCC+ Spill Remover on your computer, you must install Continuum. If you’re new to Continuum, you can download a free trial for this tutorial. Continuum is available for many host applications, including Adobe Premiere Pro, Final Cut Pro, VEGAS Pro, DaVinci Resolve, and Avid Media Composer.
First, download and install the Boris FX Hub app. Launch it and select the Continuum installation for your preferred software. If you already have Continuum installed on your system, ensure it's updated to the latest version.
-
Step 2: Add BCC+ Spill Remover to your Project
Set up your project using compatible video editing software.
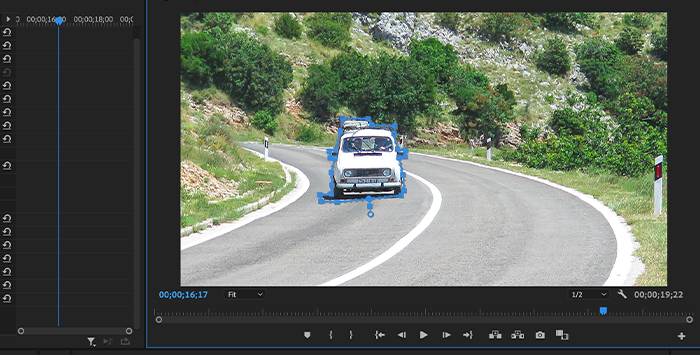
For this specific example, we'll be using Adobe Premiere Pro, but feel free to use any other software compatible with Continuum.

Import your green screen footage or photo with the green spill you want to correct and remove the green background using any Chroma Key plug-in, such as the Continuum’s Chroma Key effect.
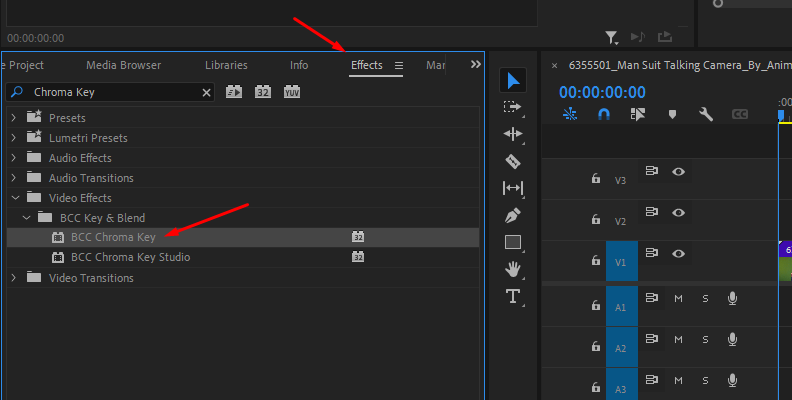
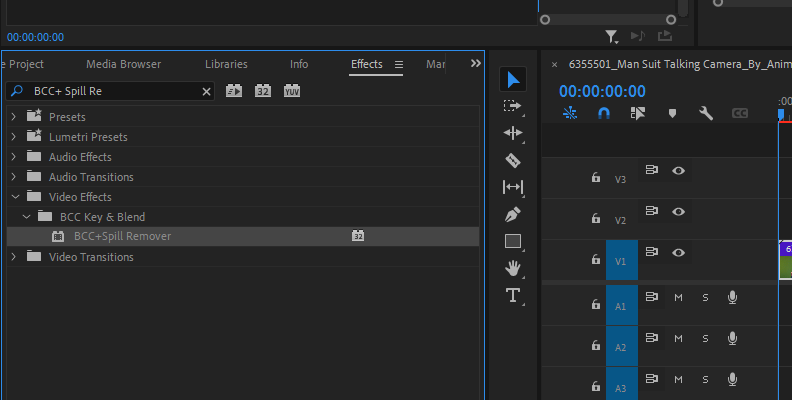
With Continuum installed, all the effects will appear in your host effect library. Browse the Continuum Key and Blend category or use the search function to find BCC+ Spill Remover. Then, drag and drop the BCC+ Spill Remover filter into the video clip or photo in the timeline where you want to fix the green spill.
-
Step 3: Set Up BCC+ Spill Remover
Access your host’s effects settings to locate the BCC+ Spill Remover parameters.

Adding the filter to a video will use the default settings, but you can customize the result with several easy-to-use parameters. I’ll guide you through the available settings and what you can do with them.
First, you have the Compare Mode. In this mode, you can visualize a comparison between the original layer and the processed image after spill suppression. This allows you to see the changes quickly without needing to toggle the effect back and forth. The compare mode offers several views, so you can choose the one that is more comfortable with your workflow.
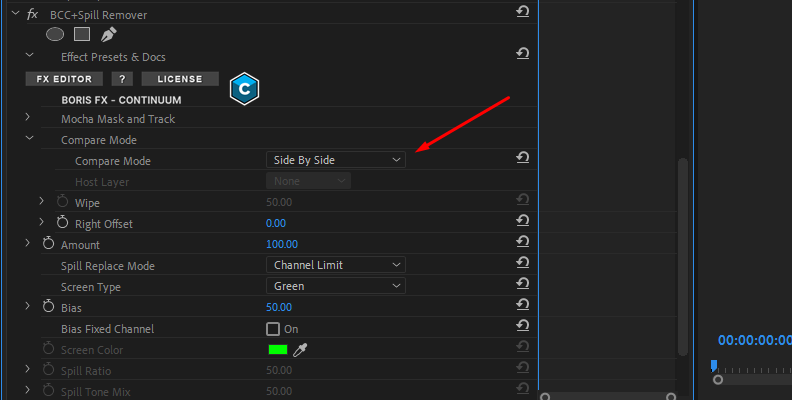
Next, we have the main control of the effect: the Amount slider, which controls how much spill suppression is applied to the green screen footage.
BCC+ Spill Remover provides two styles of spill suppression in the Spill Replace Mode: Channel Limit and Classic Continuum.
Use Channel Limit to let BCC+ Spill Remover automatically scan the image and remove the green spill.
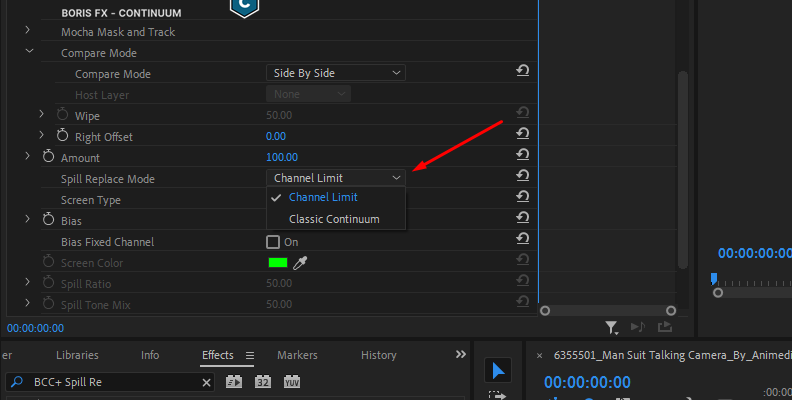
When Channel Limit is selected, you can choose a Screen Type other than a green screen to change the color channel. Finally, you can adjust the Bias to set the replacement color tones or set it to a fixed channel.
The Classic Continuum mode uses the traditional method of the previous BCC Spill Remover plug-in. When this mode is enabled, the Screen Type and Bias parameters are disabled, but the following are enabled:
-
With Screen Color, you can manually select the color spill to remove or use the dropper to select the green screen from the image.
-
Then, use the Spill Ratio to adjust and remove the selected color in the foreground. You start at a middle point and can go up or down to adjust the spill from the green screen. Lower values add a tint to the foreground, so find a good balance for the green spill ratio.
-
If the Spill Ratio added a magenta tint in the foreground (when working with a green screen), you can compensate for it with the Spill Tone Mix and Spill Tone Range sliders.
-
-
Step 4: Create a Spill Remover Preset for your Green Screen Setup
When you have multiple videos with a green background that need green spill removal, you may find it easier to create a preset as a starting point for your specific green screen setup. When you modify the BCC+ Spill Remover filter, click the FX Editor button at the top of the effect settings.
In the FX Editor UI, under Parameter on the right panel, click the icon next to "Spill Remover" to create a custom preset. Type a name, tags, and description for your preset. The custom preset can be shared with your collaborators for consistent green spill removal.
Pro Tip: Improve Your Green Screen Setup
Finally, I want to address another solution to get rid of the green spill: improving your green screen setup for recording. With some changes and modifications to your setup, many issues with green screen spills can be avoided before the shooting.
-
Lighting. One of the main causes of the green spill is the light reflection. The white light on the set transforms into a green light when it hits the green background and then reflects on your subject’s skin, clothes, light-colored hair, glasses, edges, and other metallic objects. You want to place your light sources to cover the green background evenly, avoiding darker or lighter sections, and ask the subject to move farther from the green screen to avoid casting shadows. Cover reflective floors and walls with non-reflecting materials and take a few shots before shooting begins.
-
Green screen size. Place the green screen that covers the subject or scene you want to replace. You don’t need to cover the whole set with green, which will only reflect back to your subject and generate a green spill. With a smaller green screen, you can zoom in with your camera or crop the image in post-production to leave only the green background in the frame.
-
Green floors. If you need to use the green screen on the floor, avoid fabrics and paint, and do not use reflective surfaces. Use a green screen on the floor when necessary for feet, as the floor tends to be the most problematic area for color spill removal.
-
Solid white and light gray colors. When possible, avoid wearing white and light gray colors. The green spill will be more noticeable in these colors.
Final Words
A green spill may be an issue, but it’s not the end of the world if you have it on your green screen footage. By improving your setup and using BCC+ Spill Remover in your post-production software, you’re ready to shoot and remove those pesky green spills from your image if they manage to seep into your shot.
Get Continuum for the complete chroma key and matte clean-up workflow. It features tools and plug-ins for key and blend image processes and many other tools for content creators and video editors, such as transitions, titles, particles, and over 300 visual effects.
Start your Continuum free trial today!