SynthEyes
The SynthEyes node provides an environment for automatically tracking a shot in 3D or loading existing scenes in Alembic or FBX formats. Automatic tracking reconstructs a 3D camera and point cloud from an image sequence, allowing added elements to follow the original camera’s perspective and movement.
Paint/Compositing With Unproject/Reproject
The Unproject/Reproject workflow consists of unprojecting motion derived from SynthEyes (effectively stabilizing all motion), painting or compositing on the locked down sequence and then reprojecting back to the original motion.
1 Add a source file and connect it to a SynthEyes node.
2 Load or create a 3D Track.
• Load 3D tracking data from SynthEyes, Mocha Pro, or other tracking tools by choosing Load 3D Scene in SynthEyes and importing an Alembic, FBX, or USD file.
or
• Select the Tracker tool to perform a 3D track and press Solve.
3 Select Clean Up Features, enable the desired options and press Fix Features.
This cleans up the initial solve.
4 Click on Refine Solve.
Refine Solve updates the cleaned-up solution without starting over, providing a quick way to minimize pixel drift.
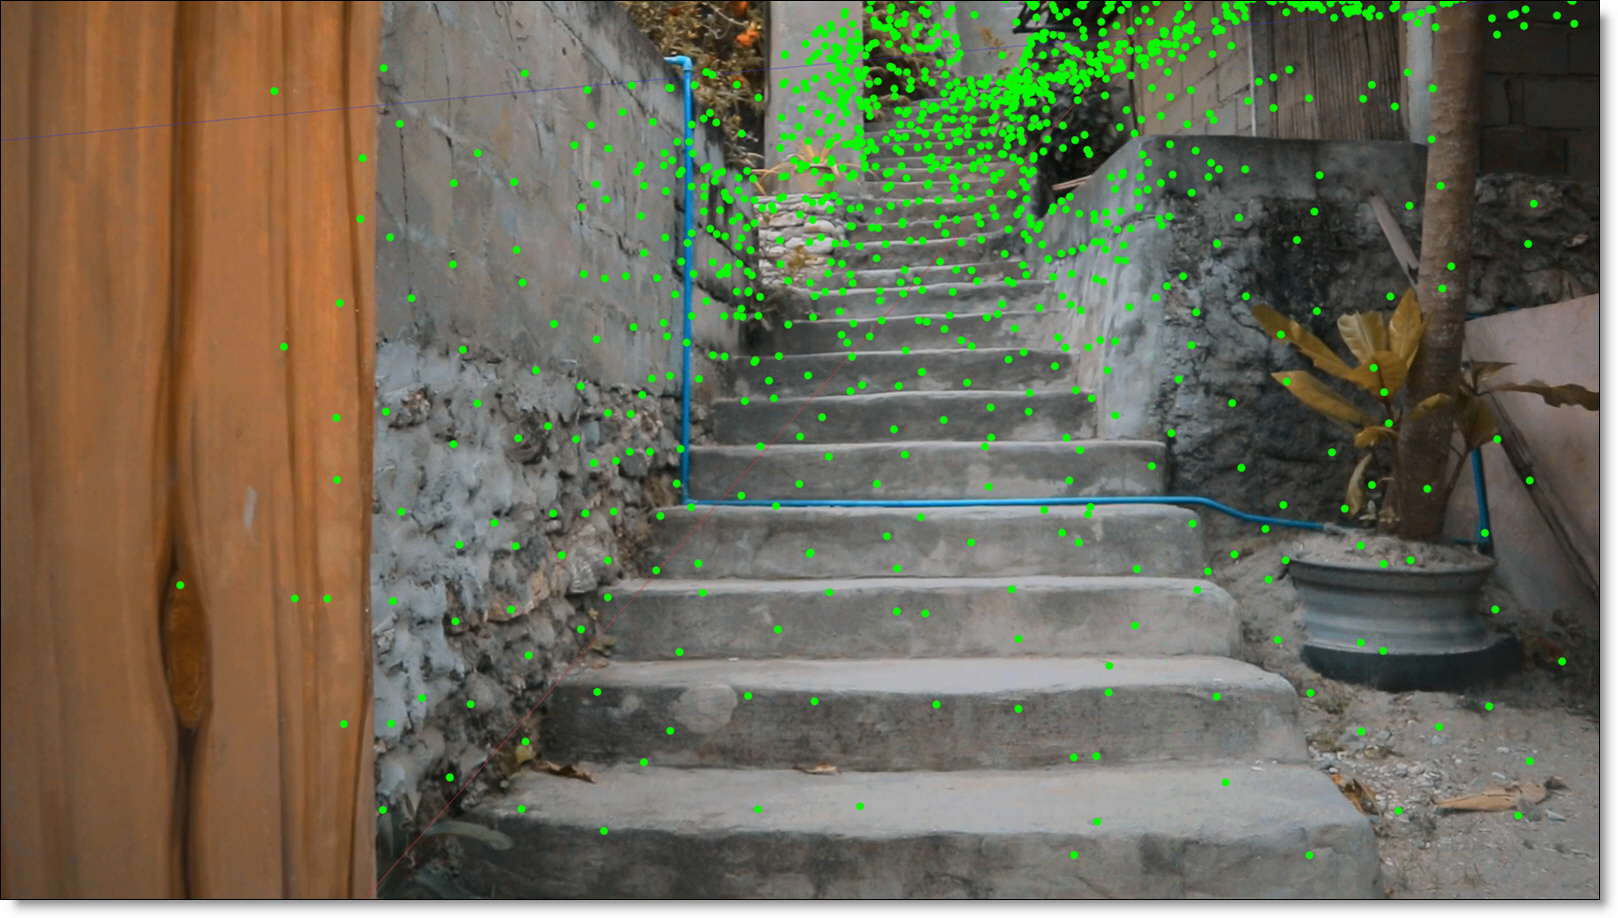
5 With the Select Points tool enabled, drag select the tracked 3D points in the area where you want to work.
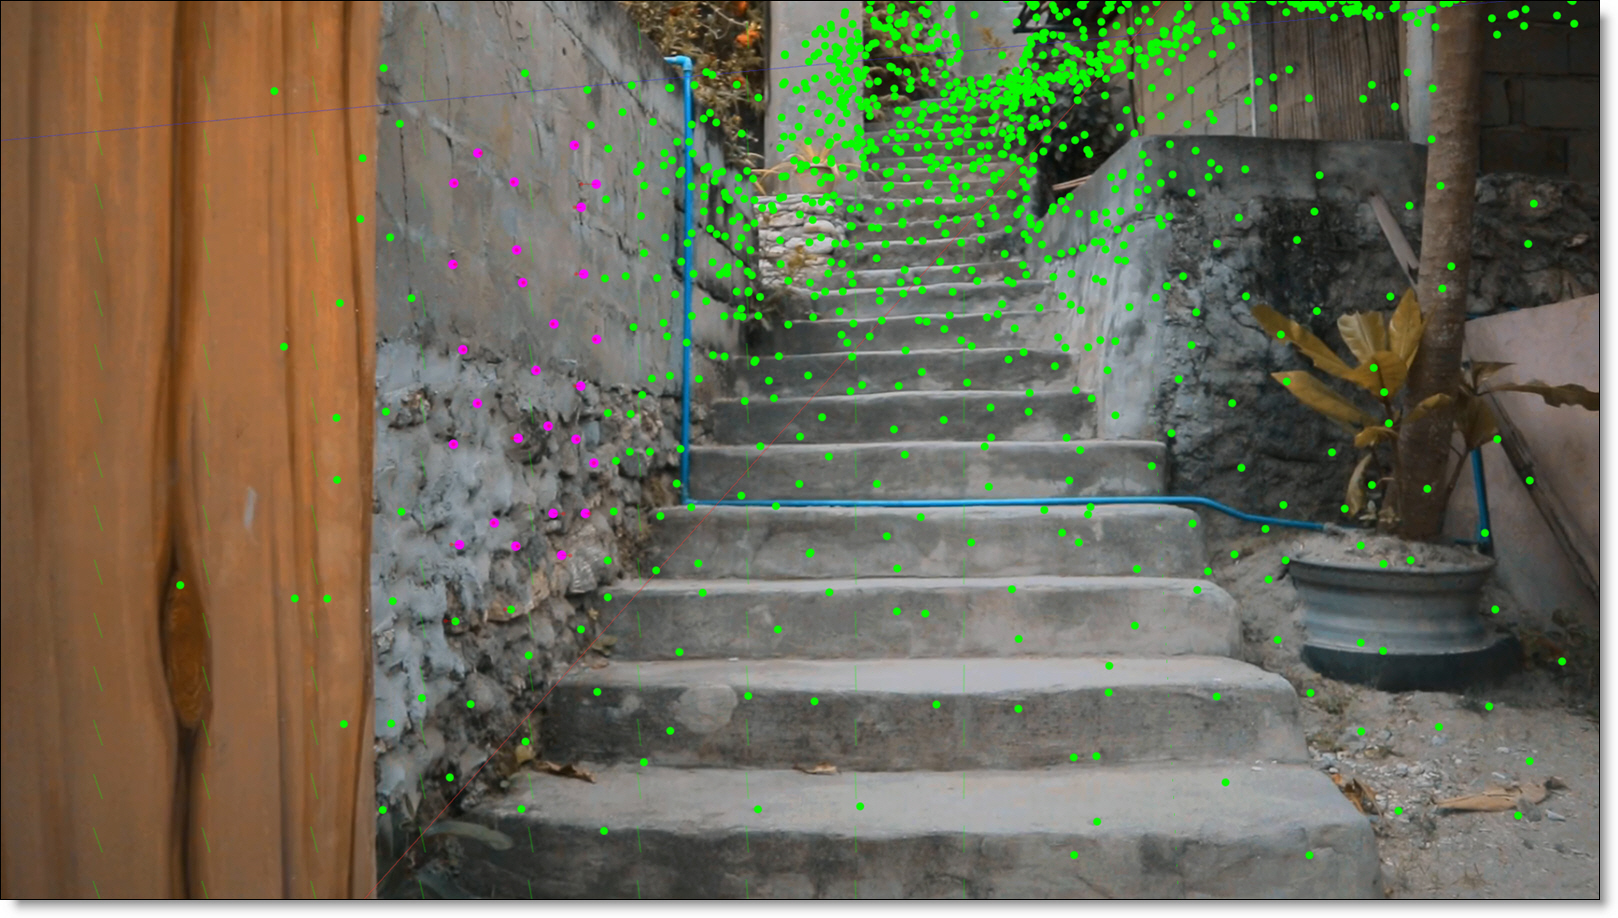
6 Choose the Card tool and click-drag to create a card. The card appears and the area is automatically solved into a 3D plane.
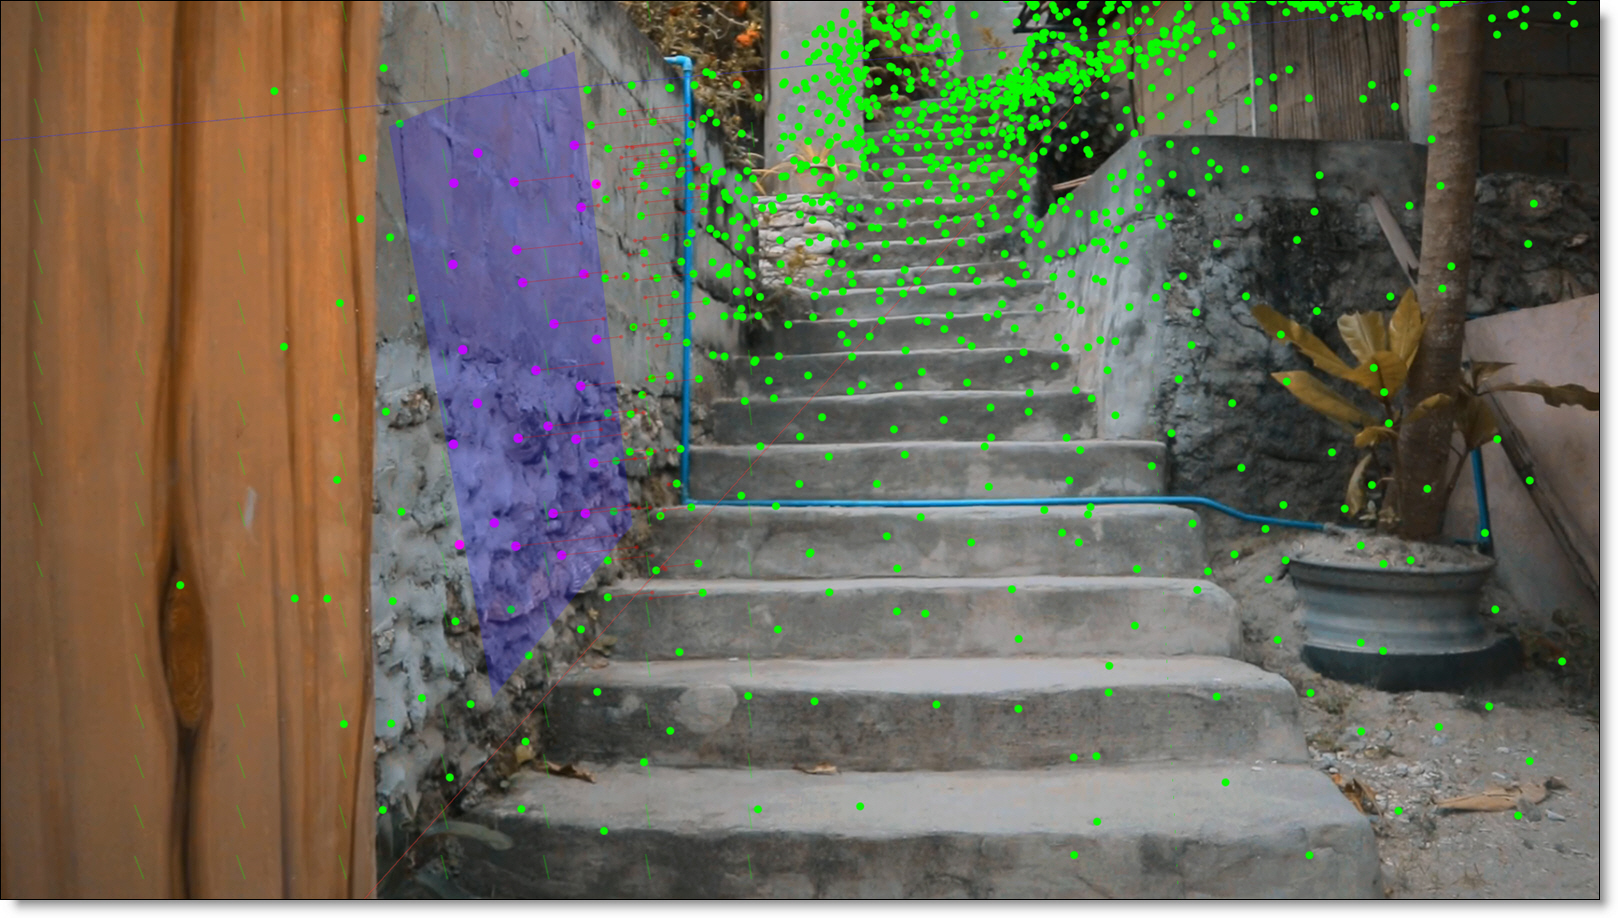
As you drag through the sequence, the card is transformed by the tracking data.
7 Connect the Source node to a Transform > Unproject node. Then connect the Data output of the SynthEyes node to the Data input on the Unproject node (located at the top right of the node).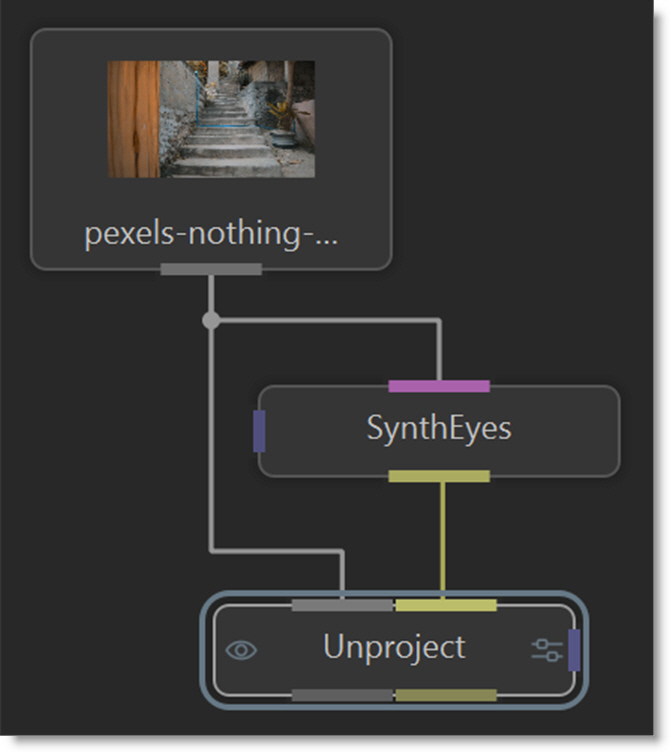
8 Single-click in the center of the Unproject node to view and edit it.
In the Surface pop-up, Auto is selected. Because the SynthEyes contains only one surface by default, it is automatically selected and the motion is stabilized and unprojected.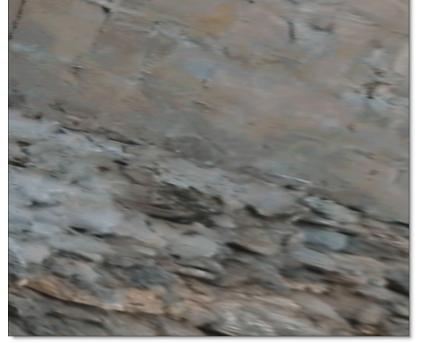
9 If the result is stretched horizontally or vertically, change the Fit Mode to a different option.
10 Paint or composite after the Unproject node.
11 Add a Transform > Reproject node after the paint or compositing nodes and connect the Data output of the Unproject node into the Reproject node’s Data input located at the top right of the node.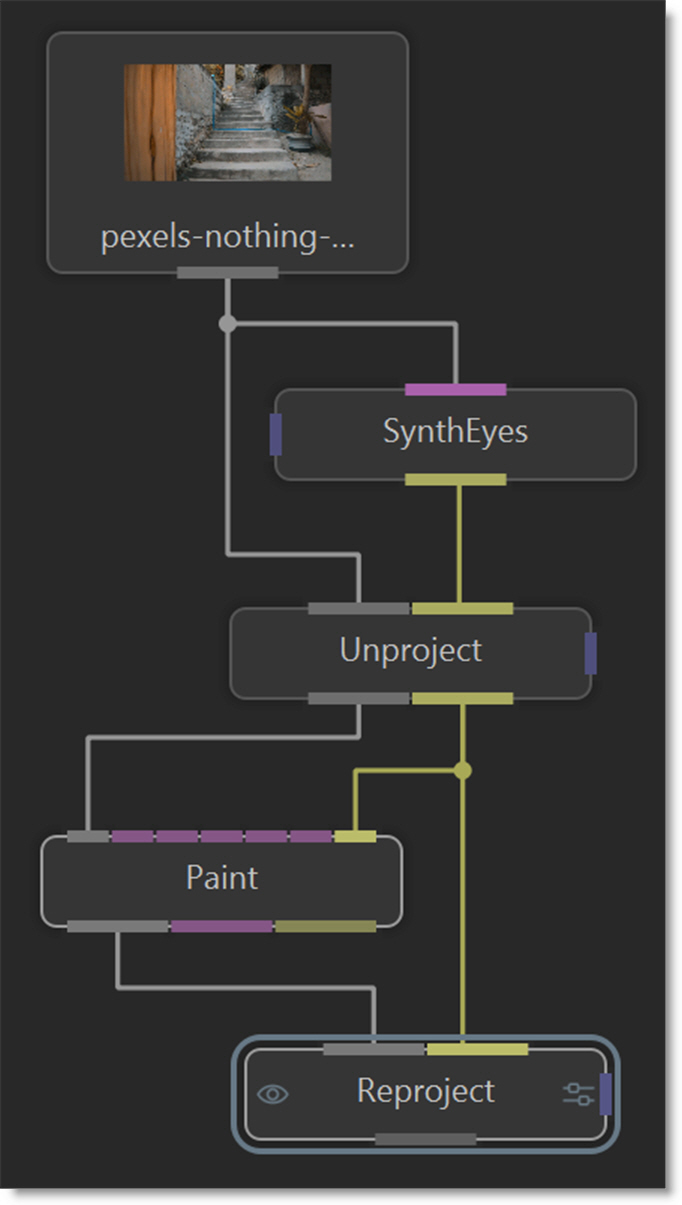
The painted or composited result is reprojected back to the original motion.
Paint Using Viewer Stabilization & Unproject
The downside of the Unproject/Reproject approach is that the image is filtered twice resulting in some slight image degradation, but nothing a bit of sharpening won’t solve.
A novel twist on the Unproject/Reproject workflow is Silhouette’s Viewer stabilization which non-destructively stabilizes and optionally unprojects the Viewer. The beauty of this approach is that image pixels are not modified during stabilization/unprojection--only the Viewer is stabilized.
1 Follow the instructions in the previous tutorial for creating a SynthEyes node, selecting points and adding a card.
2 Select the Stabilize icon above the Viewer and the Stabilize toolbar appears.
3 Choose the card you just created from the list and select Enable.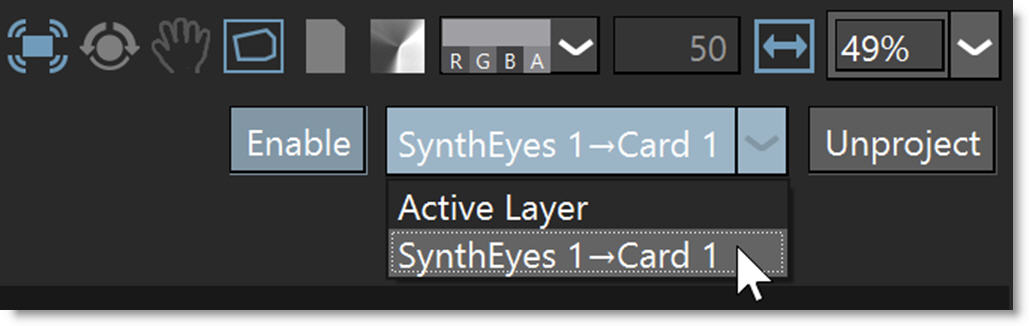
The Viewer is now stabilized based on the selected card’s tracking data.
4 Enable Unproject in the Stabilization toolbar.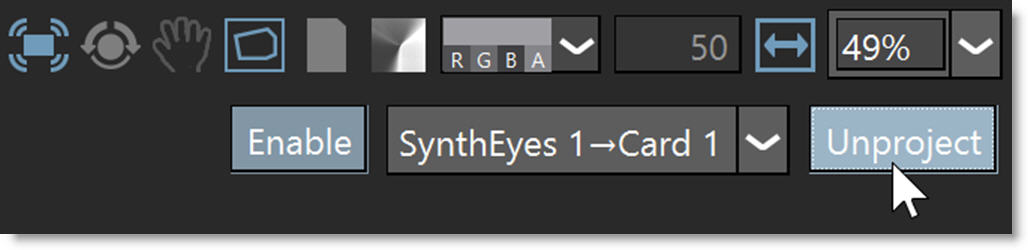
Unproject remaps the area inside the layer or card so that it becomes flat--making it easier to work with pixels that have a regular repeating pattern or tend to be more horizontal or vertical. It's most useful to help correct for foreshortened projected pixels. For example, imagine you're the camera and you reposition yourself to look head-on into an area of the image that has perspective.
Note: Clicking the Stabilize icon again hides the Stabilize toolbar, but stabilization remains active until disabled.
5 Add a Paint node to the source file.
6 Connect the Data output of the SynthEyes node into the Paint node’s Data input located at the top right of the node.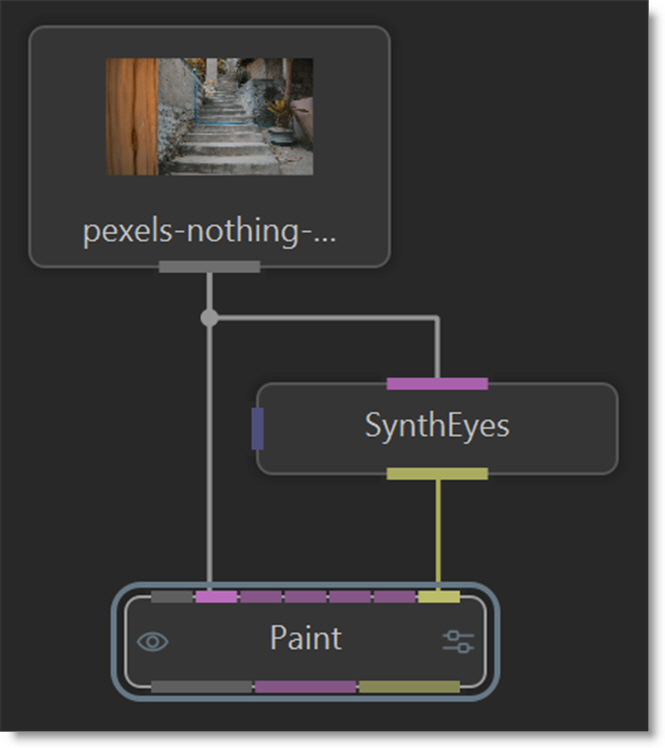
7 Single-click in the center of the Paint node to view and edit it.
8 In the Paint node, select the Card in the Paint > Transform menu.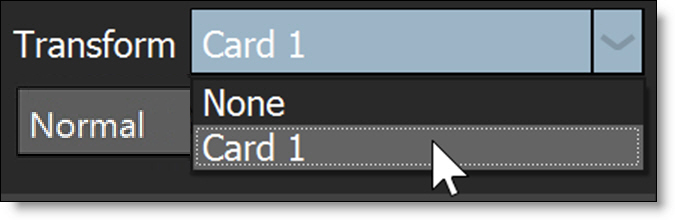
9 Paint a stroke, select it and enable Match Move in the Auto Paint window.
10 Auto Paint the stroke throughout the sequence.
Strokes are match moved and auto painted while the Viewer is stabilized and unprojected.
11 To disable Viewer stabilization, click the Stabilize icon, deselect Enable, and the Viewer is returned to its normal state.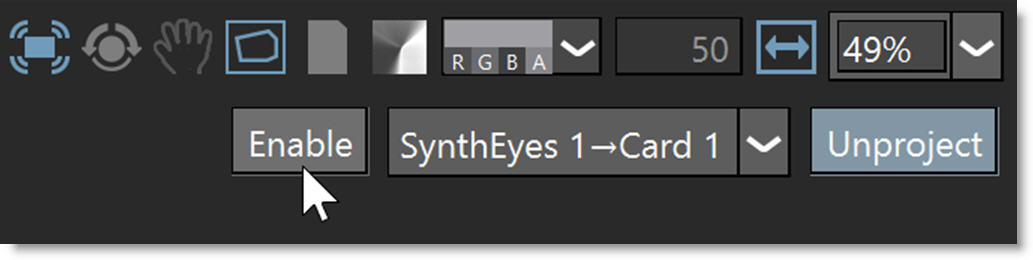
12 Click the Stabilize icon again to close its toolbar.
When you play now, the painted strokes will appear normal and match moved to the sequence.
Roto/Paint/Compositing With 3D Head Meshes
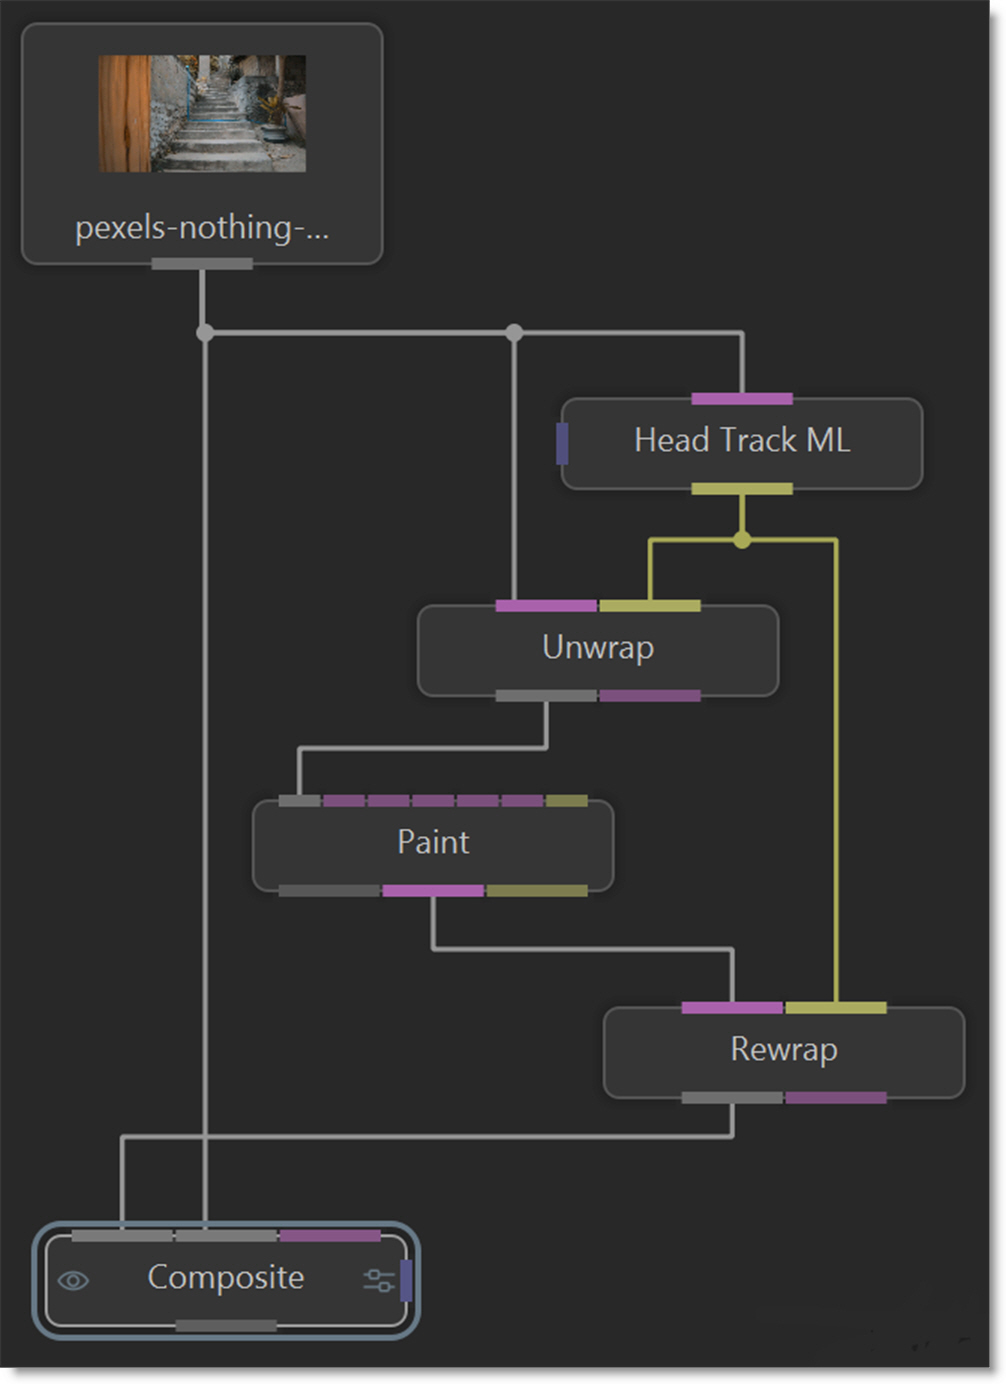
Facial beauty work can be streamlined using the Head Track ML, Unwrap, and Rewrap workflow. The process involves tracking a 3D head mesh and unwrapping its surface into 2D UV space to create a flat, stabilized representation. This view simplifies roto, paint, and beauty work by removing motion. After adjustments are made on the stabilized sequence, the result is rewrapped onto the original facial performance.
3D Head Tracking
1 Add a source file and connect it to a Head Track ML node.
2 Select the Tracker tool.
3 Set Track to Heads.
4 Enable Solid Mesh to build a fully closed head mesh, removing holes for the eyes, nostrils, mouth, and ears.
5 Click Track Forward.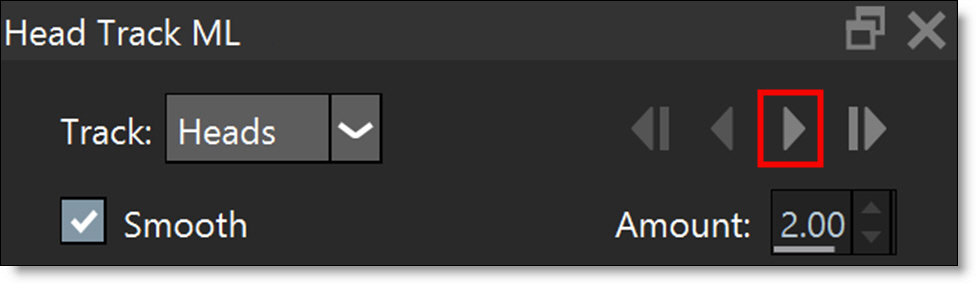
Note: Smoothing is enabled by default, as the Head Tracker may produce jittery results without it.
When tracking begins, a 3D head mesh is generated and tracked.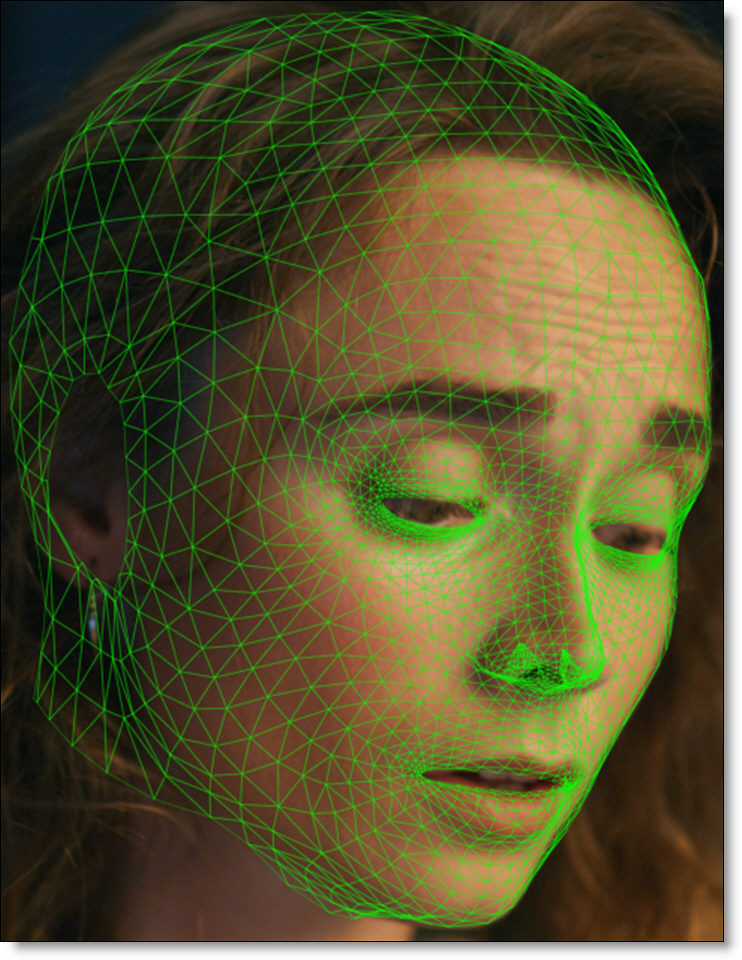
Mesh Refinement
If the mesh is not fitting the face as expected, you can adjust it with anchor points.
1 With a head selected in the Object List, choose Add Deformer and then click the mesh to add anchor points.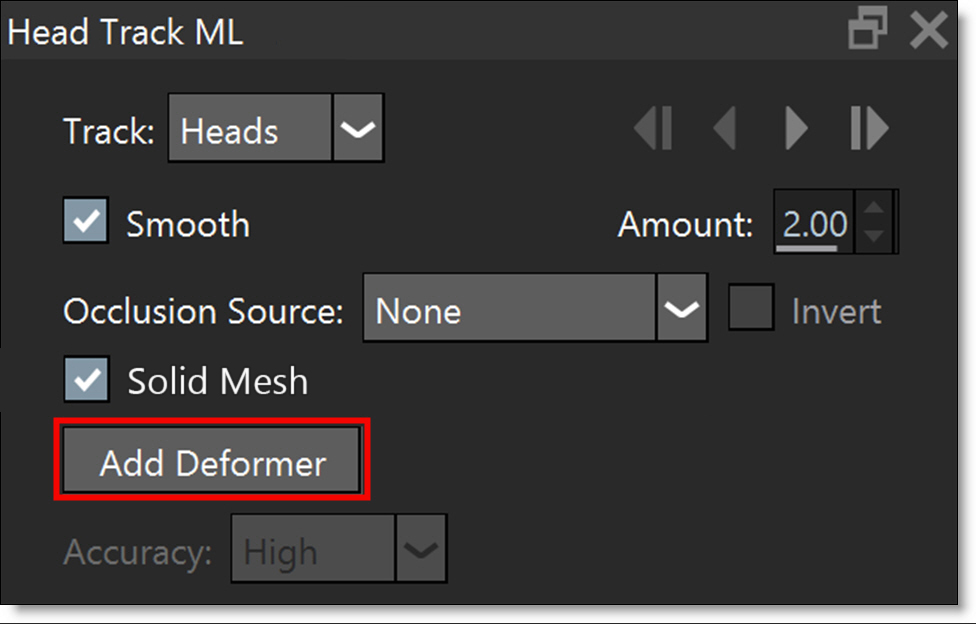
2 Adjust the anchor points so the mesh aligns accurately with the facial features. Anchor points can be positioned and keyframed manually, or tracked automatically.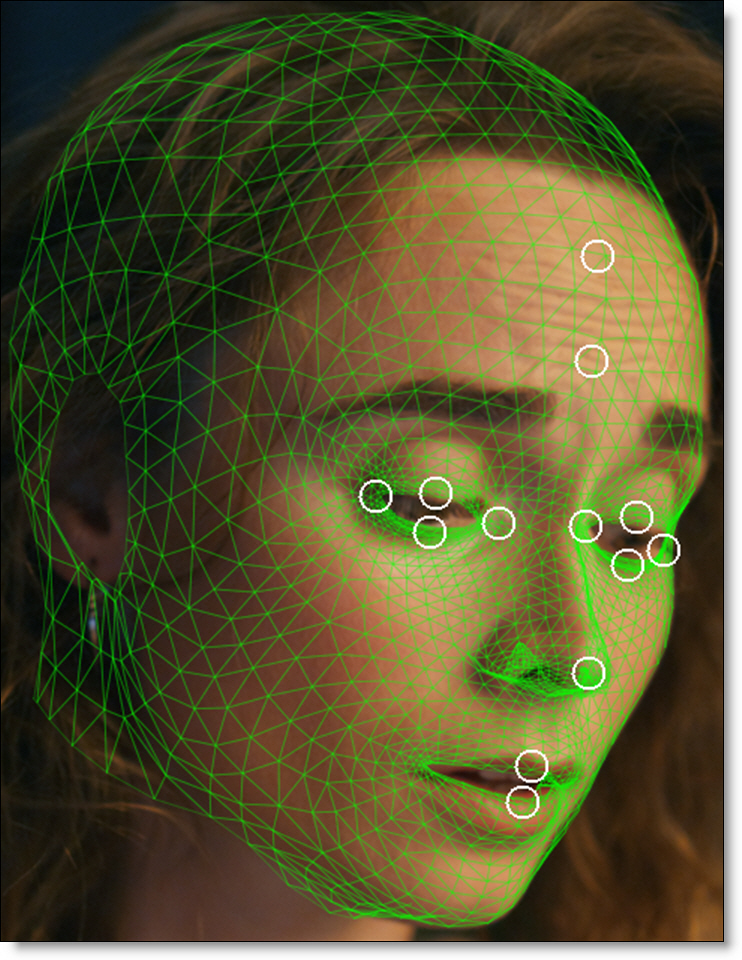
3 Be sure to add anchor points in any areas where you’ll be doing roto, paint, or compositing to ensure those regions remain firmly locked in place.
4 In the Object List, select the anchor points you want to track, or select the Deformer to track all anchor points.
5 Set Track to Anchors.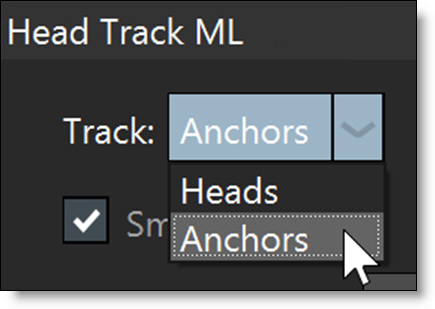
6 Click Track Forward or Track Reverse, depending on the desired tracking direction to perform an additional refinement pass.
Unwrap/Roto, Paint, Or Composite/Rewrap
1 Connect the Source node to a 3D > Unwrap node. Then connect the Data output of the Head Track ML node to the Data input on the Unwrap node (located at the top right of the node).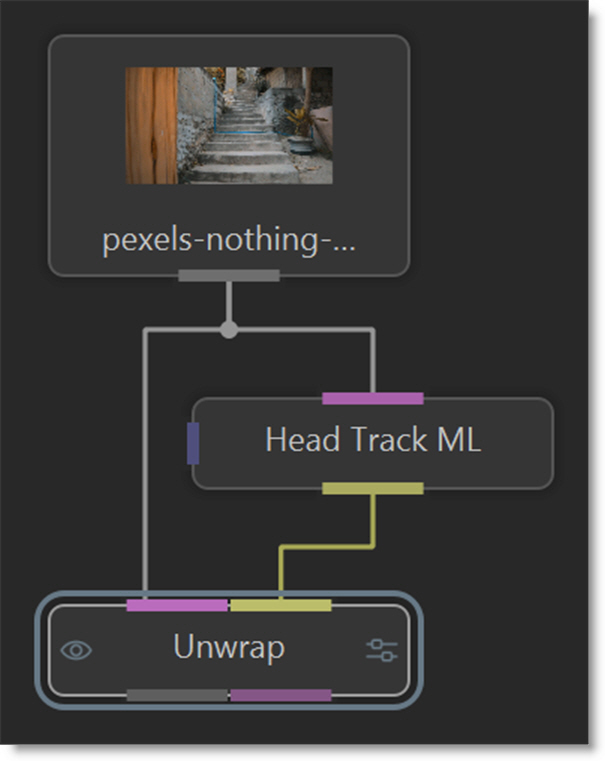
2 Single-click in the center of the Unwrap node to view and edit it.
In the Surface pop-up, Auto is selected. Because Head Track ML contains only one surface by default, it is automatically selected and the image is unwrapped, flattened and stabilized.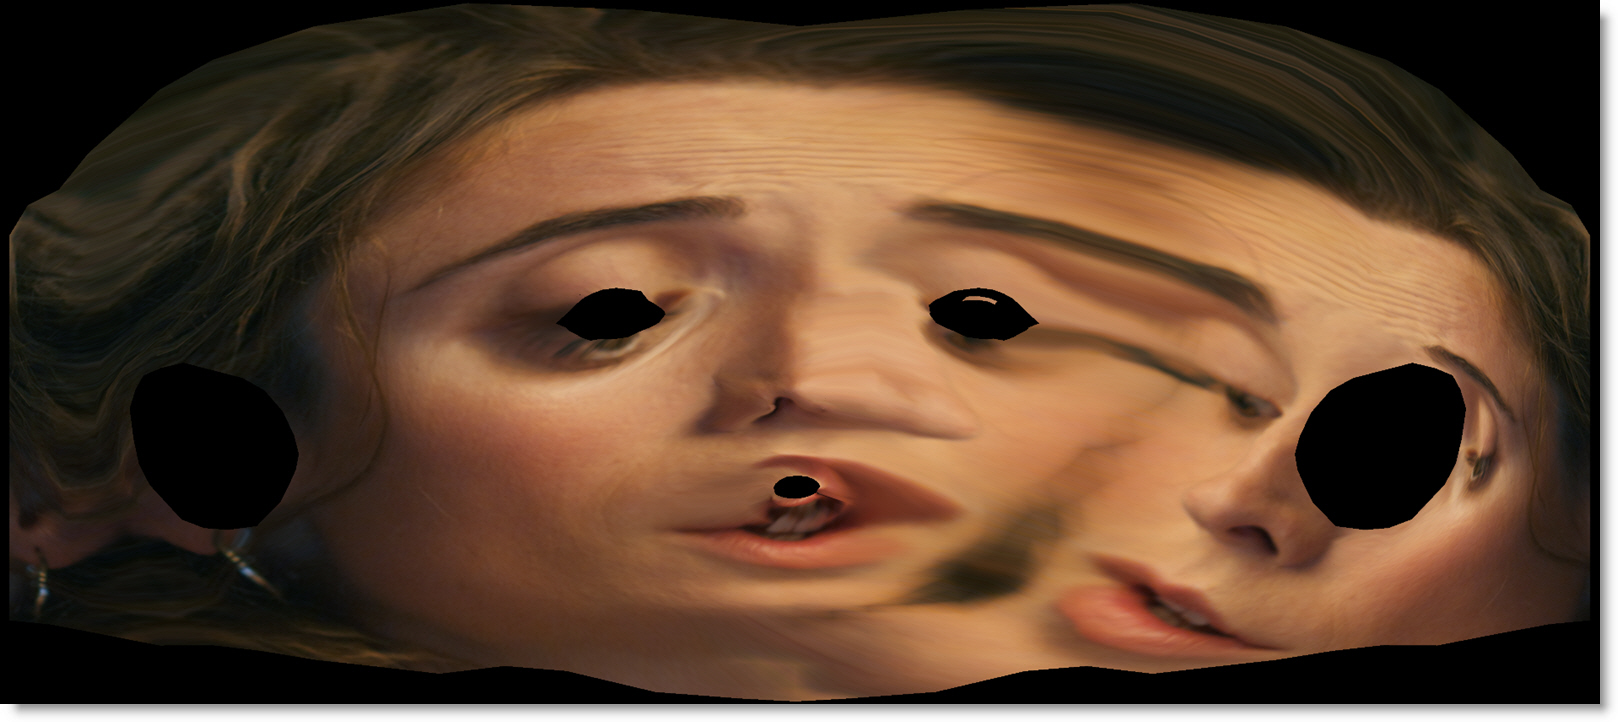
3 Roto, paint or composite after the Unwrap node.
4 Add a 3D > Rewrap node after the Roto, Paint or compositing nodes and connect the Data output of the Head Track ML node into the Rewrap node’s Data input located at the top right of the node.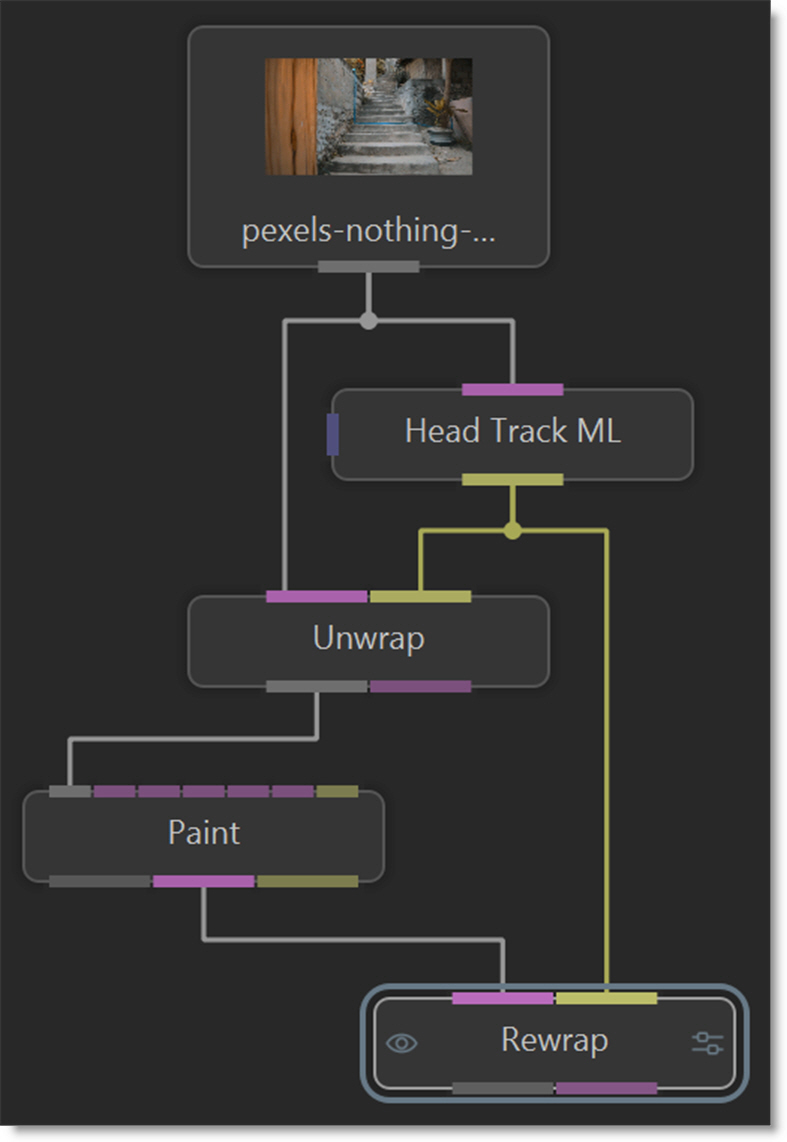
Note: When using Paint in the Unwrap/Rewrap workflow, it is best to connect the Paint Only output to Rewrap, as the resulting composite in the next step will appear more natural and seamless.
The Rewrap node reprojects the roto, paint, or composite created in 2D UV space back onto the 3D model, restoring the effects to their correct position on the model’s surface.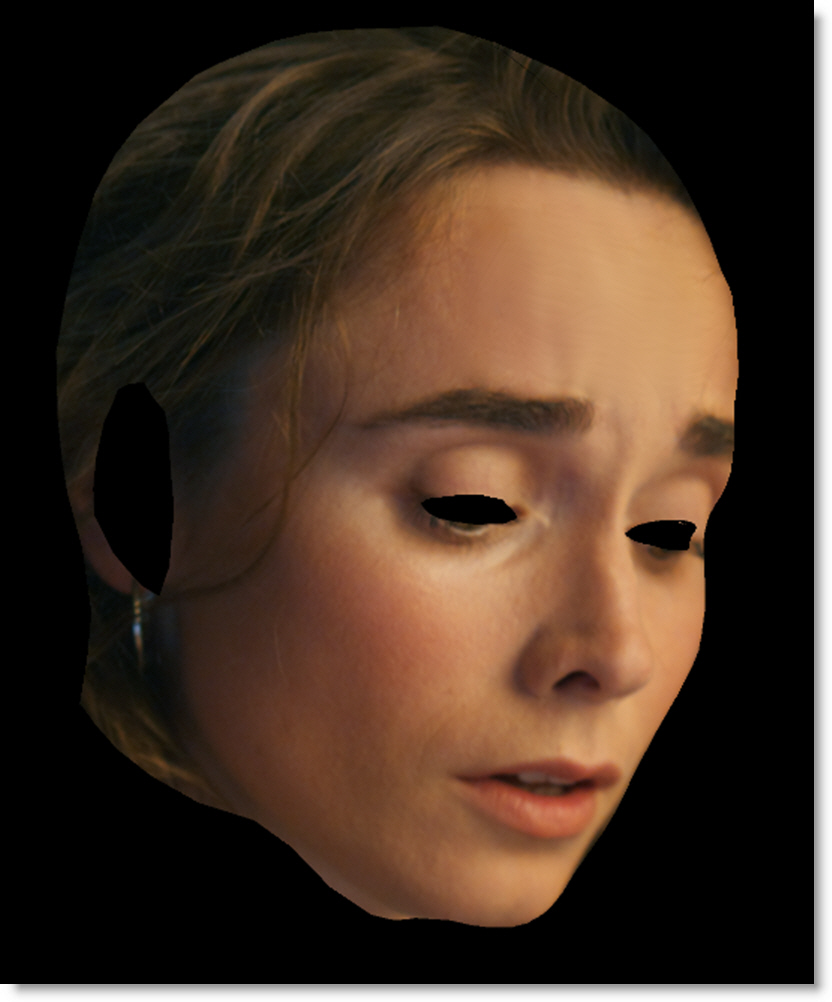
The last step is to composite the re-wrapped result over the source.
5 Connect the Rewrap node into the Foreground input of the Composite node and the Source node into the Background input.